Vicki Boutin Collection
I was keen to get my hands on the Vicki Boutin mixed media products from American Crafts, especially the art pastels. In addition to these, I ordered the blending sponge, the 12×12 paper pad, the ephemera cardstock die-cuts and the cardstock labels. Naturally I ordered more than this, hence my photo below of my lovely box of goodies from Hey Little Magpie!

My first layout focuses on the paper products from the Vicki Boutin collection and I have to say I was really impressed with papers included in the 12 x 12 paper pad. There are 36 papers in total, 15 of which are single sided papers and there’s two each of those including two cut apart sheets, then there’s also two different acetate sheets and four different foiled sheets. I chose this colourful numbered paper for my layout about coffee. (The paper pad is currently out of stock, but more are on order so sign up for a notification and you’ll receive an email when it’s back in stock.)

I layered my photo on top of a piece of gold printed acetate and placed a piece of text paper beneath the acetate, both of these are from the paper pad. To the right of the photo are a couple of tags which are from the cardstock labels pack (which are actually stickers with a peel off backing) and a strip of one of the foil papers from the pad. In fact the only things not from the Vicki Boutin collection are the foam thickers which are old ones from my stash. The arrow and the ‘noted’ tag are from the ephemera pack. I used the brown/red pastel to make a coffee ring by drawing around a circular lid with the pastel and applying the water brush over the top. Set 3 of the art pastels has a brown, but I don’t have that set, yet.

My second layout was inspired by the gorgeous gold feather acetate. The feathers made me think of the Birds of a Feather day workshop I attended in March with Paige Evans.
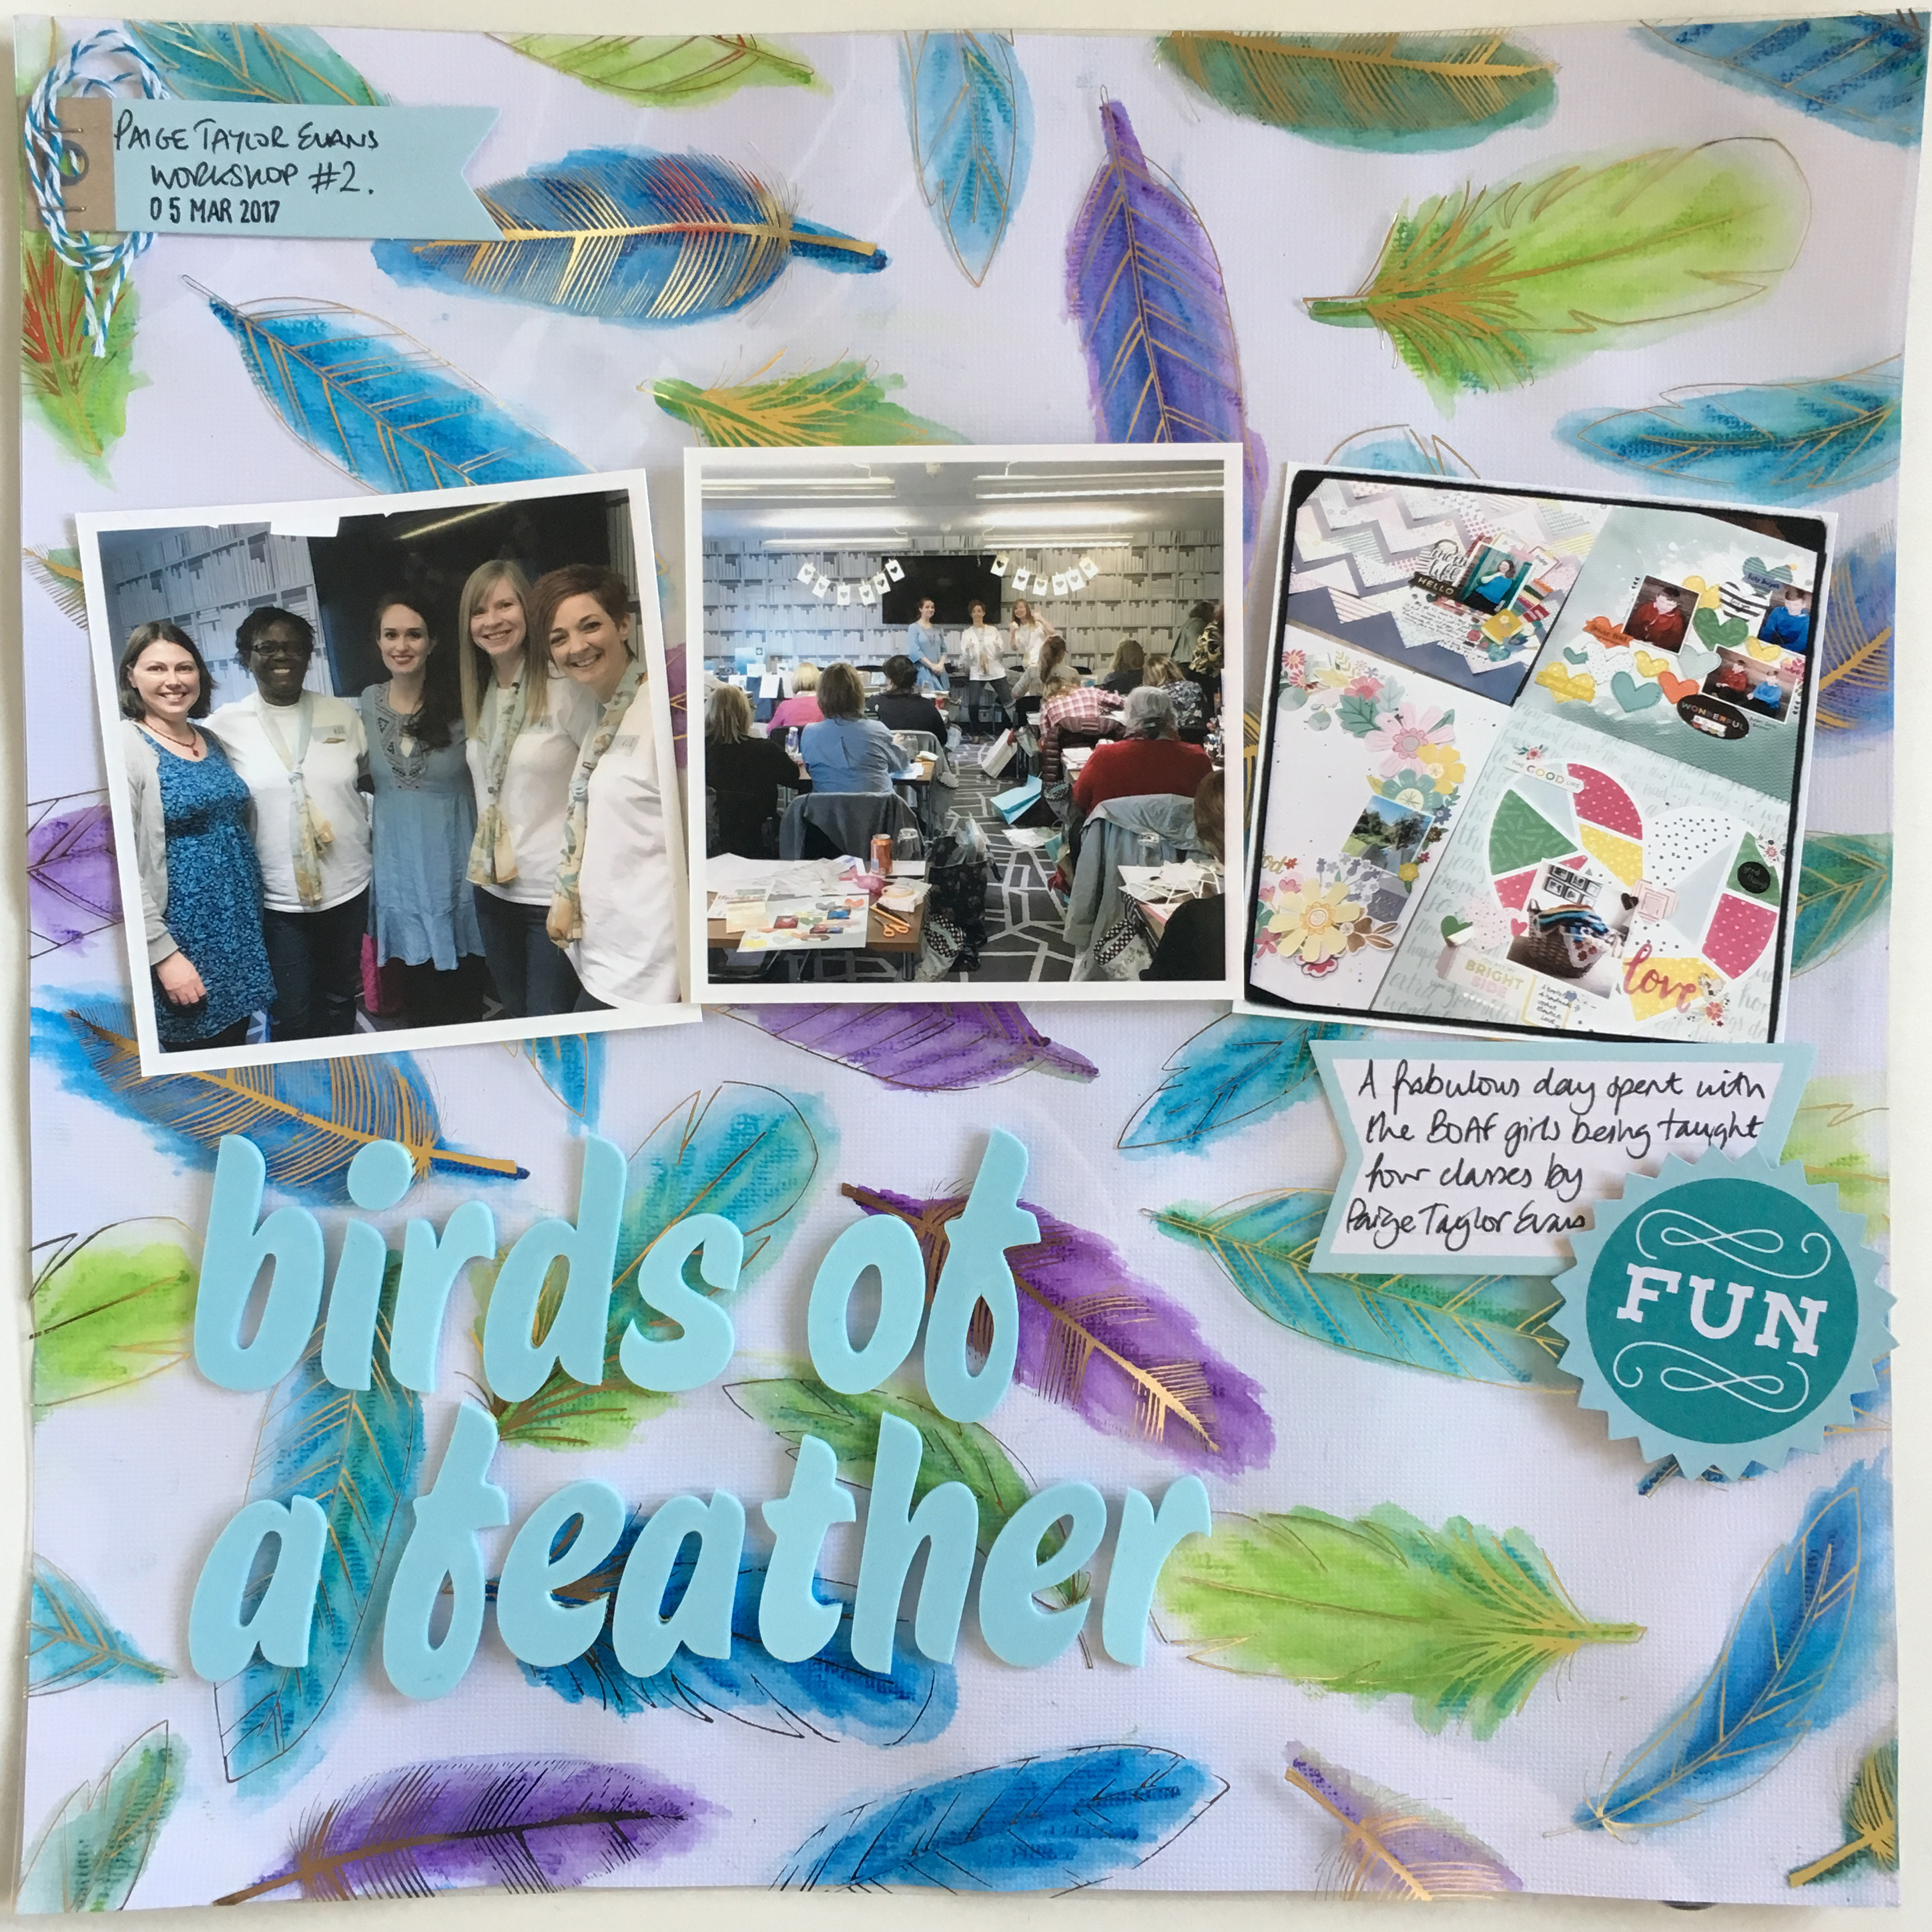
I thought I’d use the blue and green pack of art pastels (set 2) to highlight the feathers. To do this I taped the acetate to the window with washi tape and taped a piece of white cardstock over the top. The light through the window illuminated the feathers on the acetate so I could see where to apply the art pastels. Once I’d drawn bits of each feather I took it down from the window and used a watercolour water flow brush to wet the pastels and blend them together.

I’m pretty pleased with how it turned out. The cardstock labels and ephemera are from the collection. To hold the acetate in place I hid double sided tape and glue dots behind the photos and foam letter stickers, plus one at each corner under the gold foil.

My final layout uses the red and orange set of art pastels, set 1. This time I used a gesso medium (there’s a Vicki Boutin one here) over the cardstock to reduce the warping. After that had dried I scribbled in red and orange pastel then used a normal paint brush with water to mix the pastel, turning it into a watercolour which spread easily over the page.

I let that dry then flicked Heidi Swapp Gold Color Shine and a black ink from my stash over the page diagonally. While the ink was still wet I sprinkled some gold and black embossing powder into the dots and sped up the drying process with a heat tool. This is what warped the cardstock, so next time I’ll be patient and leave it to dry naturally! There’s a gold glitter set by Vicki Boutin, the finer glitter which would work great on this and the heavier glitter would be best on thicker mediums like acrylic paint and glazes.

I applied a yellow colour wash to made using the pastels and water over a Jillibean Soup Mini Placemat ‘Happy‘, as shown above. When that had dried I blended red using the blending sponge over the die-cut, then wiped more Heidi Swapp Gold Colour Shine over the top to bring out a warm shiny golden colour.

I placed everything on the page, layering photos, paper, tags and the Happy die-cut using foam tape and pads to give height. The letter stickers are by Freckled Fawn and were the perfect colour for this layout. I wrote my journaling straight on to the page and in hindsight I should have used a finer pen, oh well. As an afterthought I drew red hearts with the art pastel which I lightly painted over with the water brush. The tags and labels are from the Vicki Boutin collection, linked above. Finally I used the blending sponge to rub red around the edges of the layout.

Thanks for stopping by!
