Saturday, Bloom and Gather revisited

Hurrah, lots of new collections have arrived in store yesterday! This of course meant they weren’t in when I was making my monthly projects, so I revisited three of my favourite collections; Maggie Holmes’ Bloom and Gather and Dear Lizzy’s Saturday. Yes, there are still products from these stunning collections in the store and they will mix beautifully with the new collections too. I created six projects; three scrapbook layouts, two cards and a fun photo banner.
Let’s begin with a layout, ‘Loved this’

When I was looking to see what papers were in stock from the Maggie Holmes Bloom collection I saw the ‘Emily‘ paper which had a sweet gingham on one side and big yellow florals on the other, well that was crying out to be fussy cut! I trimmed it in half and fussy cut florals from one half and kept the other piece whole for the gingham. Its the perfect way to make your own die-cut looking flowers! The large grey gingham paper is ‘Afternoon‘, the black and cream floral paper is ‘Peony‘ and the thin gingham strip is ‘Emily’. All three are from the Maggie Holmes ‘Bloom’ collection.
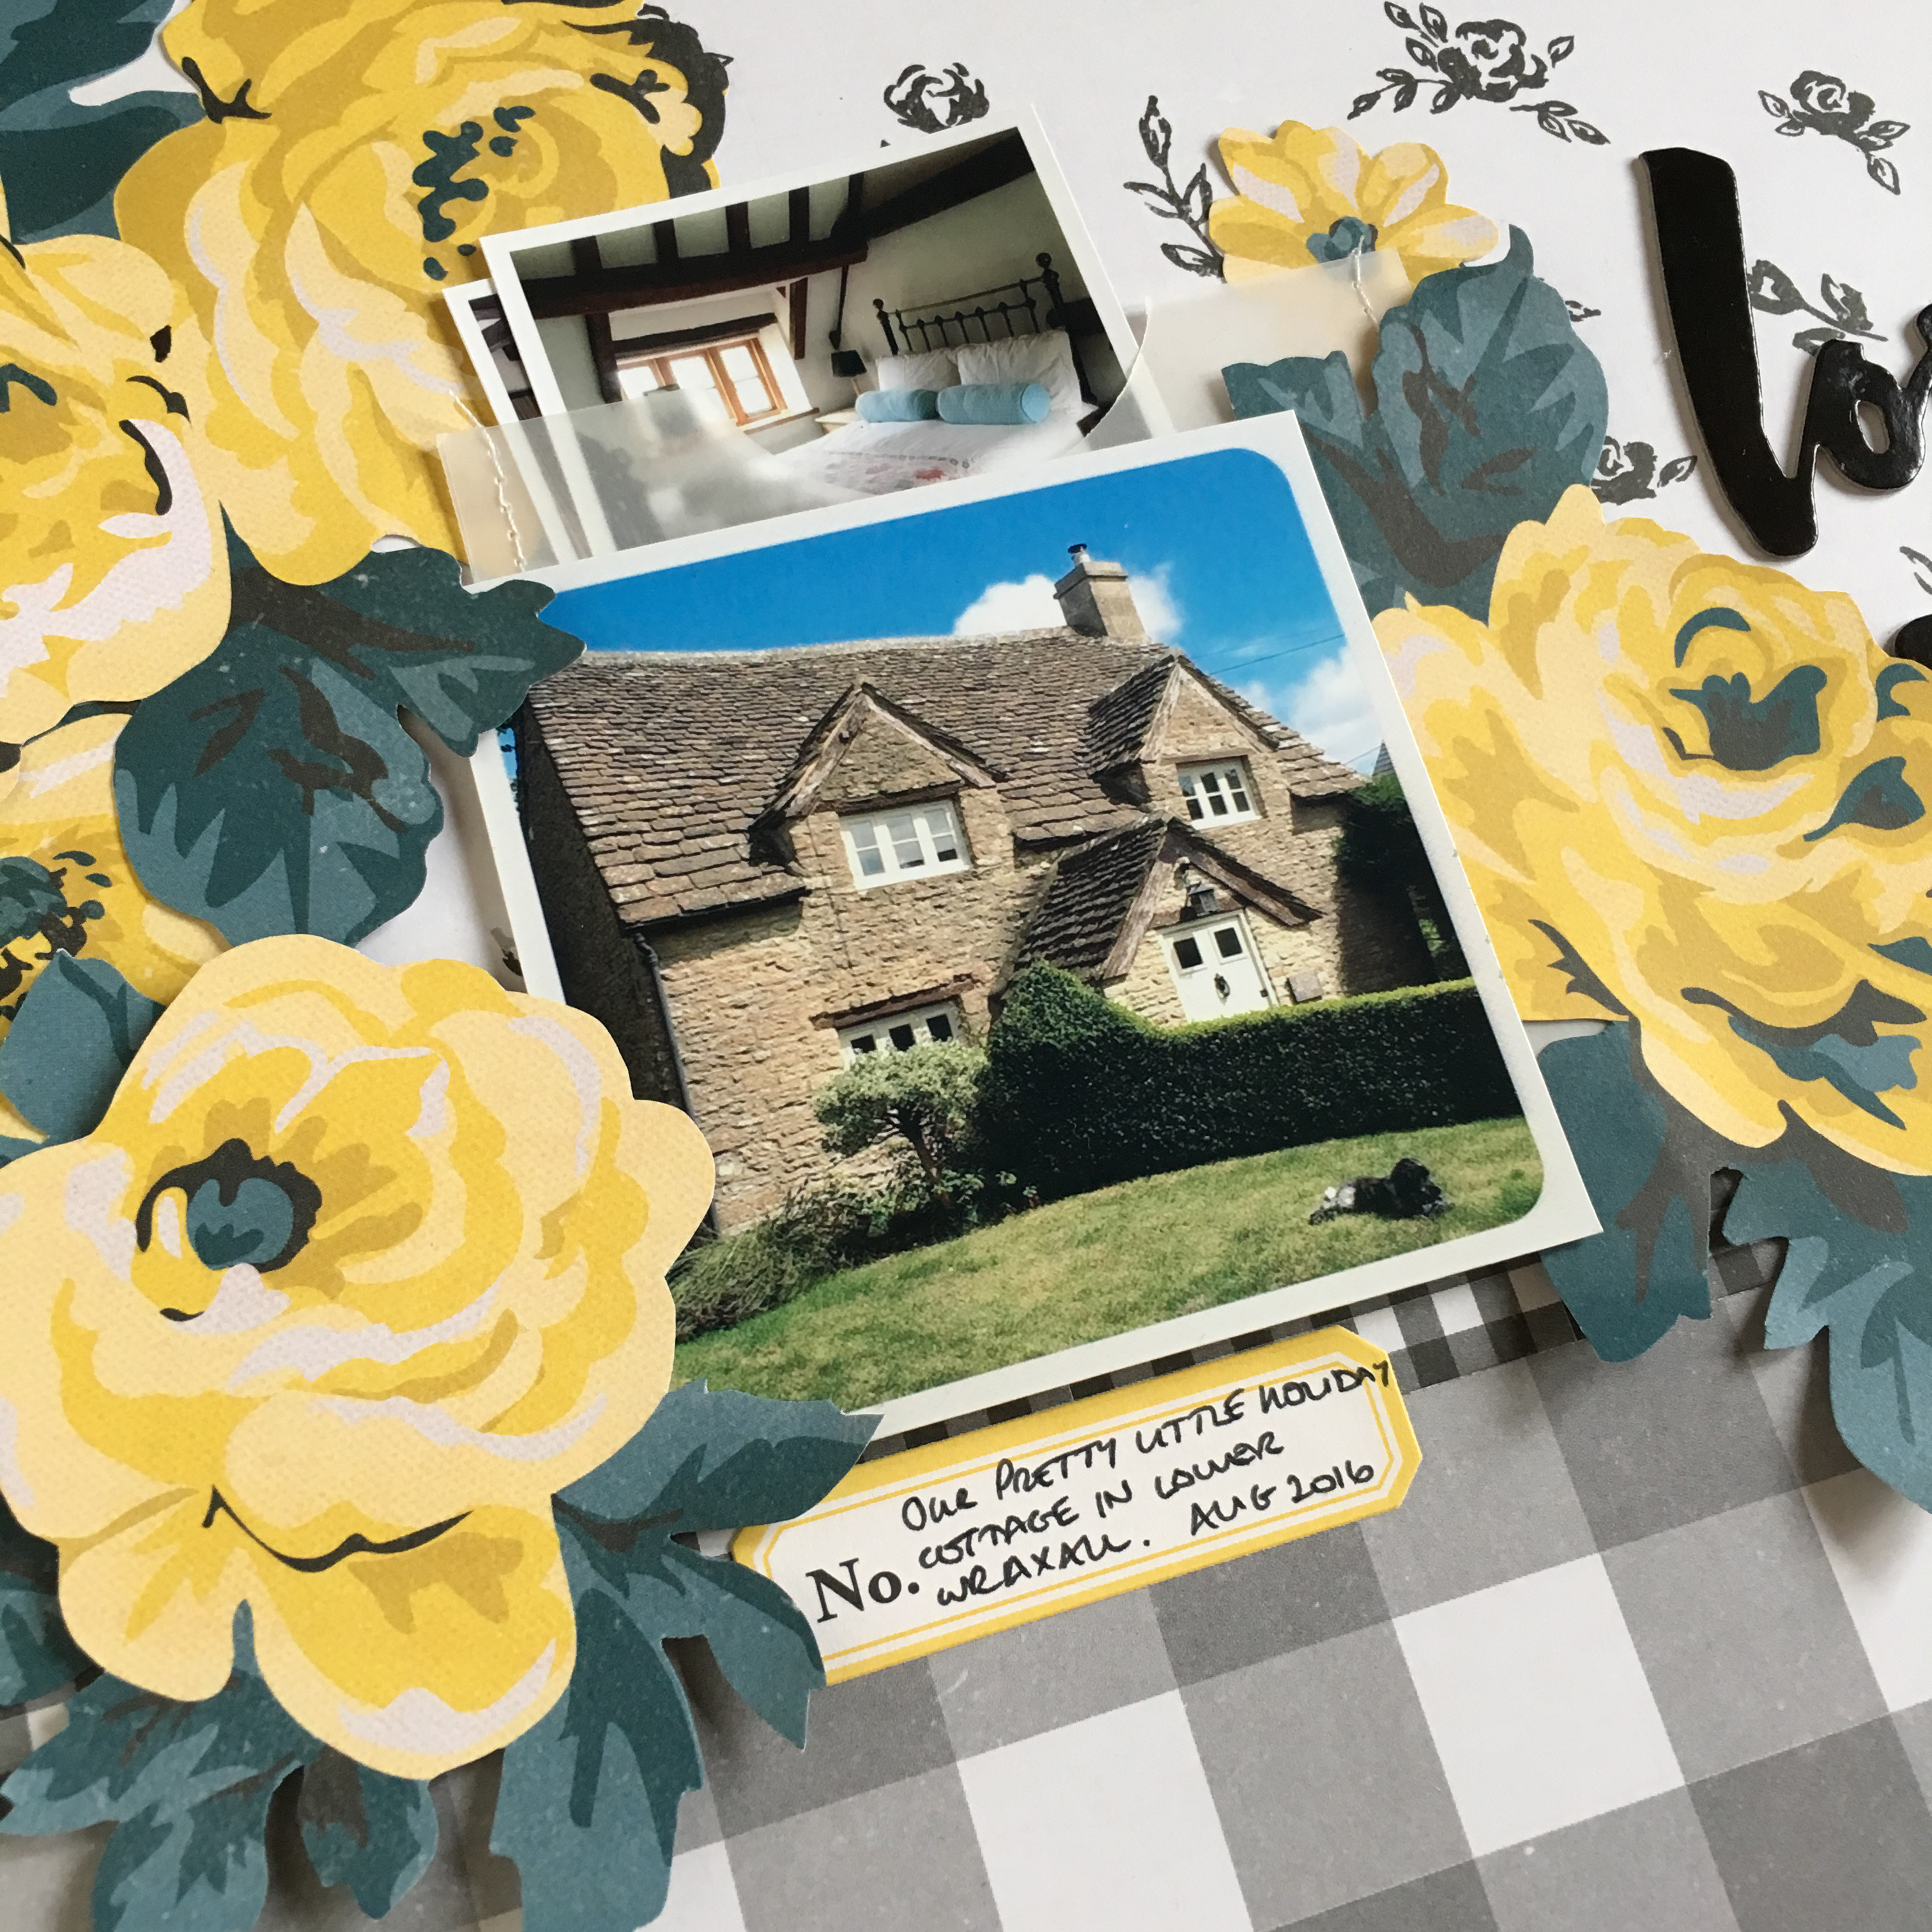
I stitched a vellum pocket to hold additional photos of the holiday cottage, tucking it under a main photo which was mounted on craft foam. I placed a label sticker from my stash under the photo and a yellow chipboard heart on the paper strip. I used the ‘Loved this’ chipboard title from the Dear Lizzy ‘Hello Multi-color Chipboard Phrase Thickers’ sheet from the Saturday collection, the heart comes from this too.
Layout 2 ‘I love Right Now’
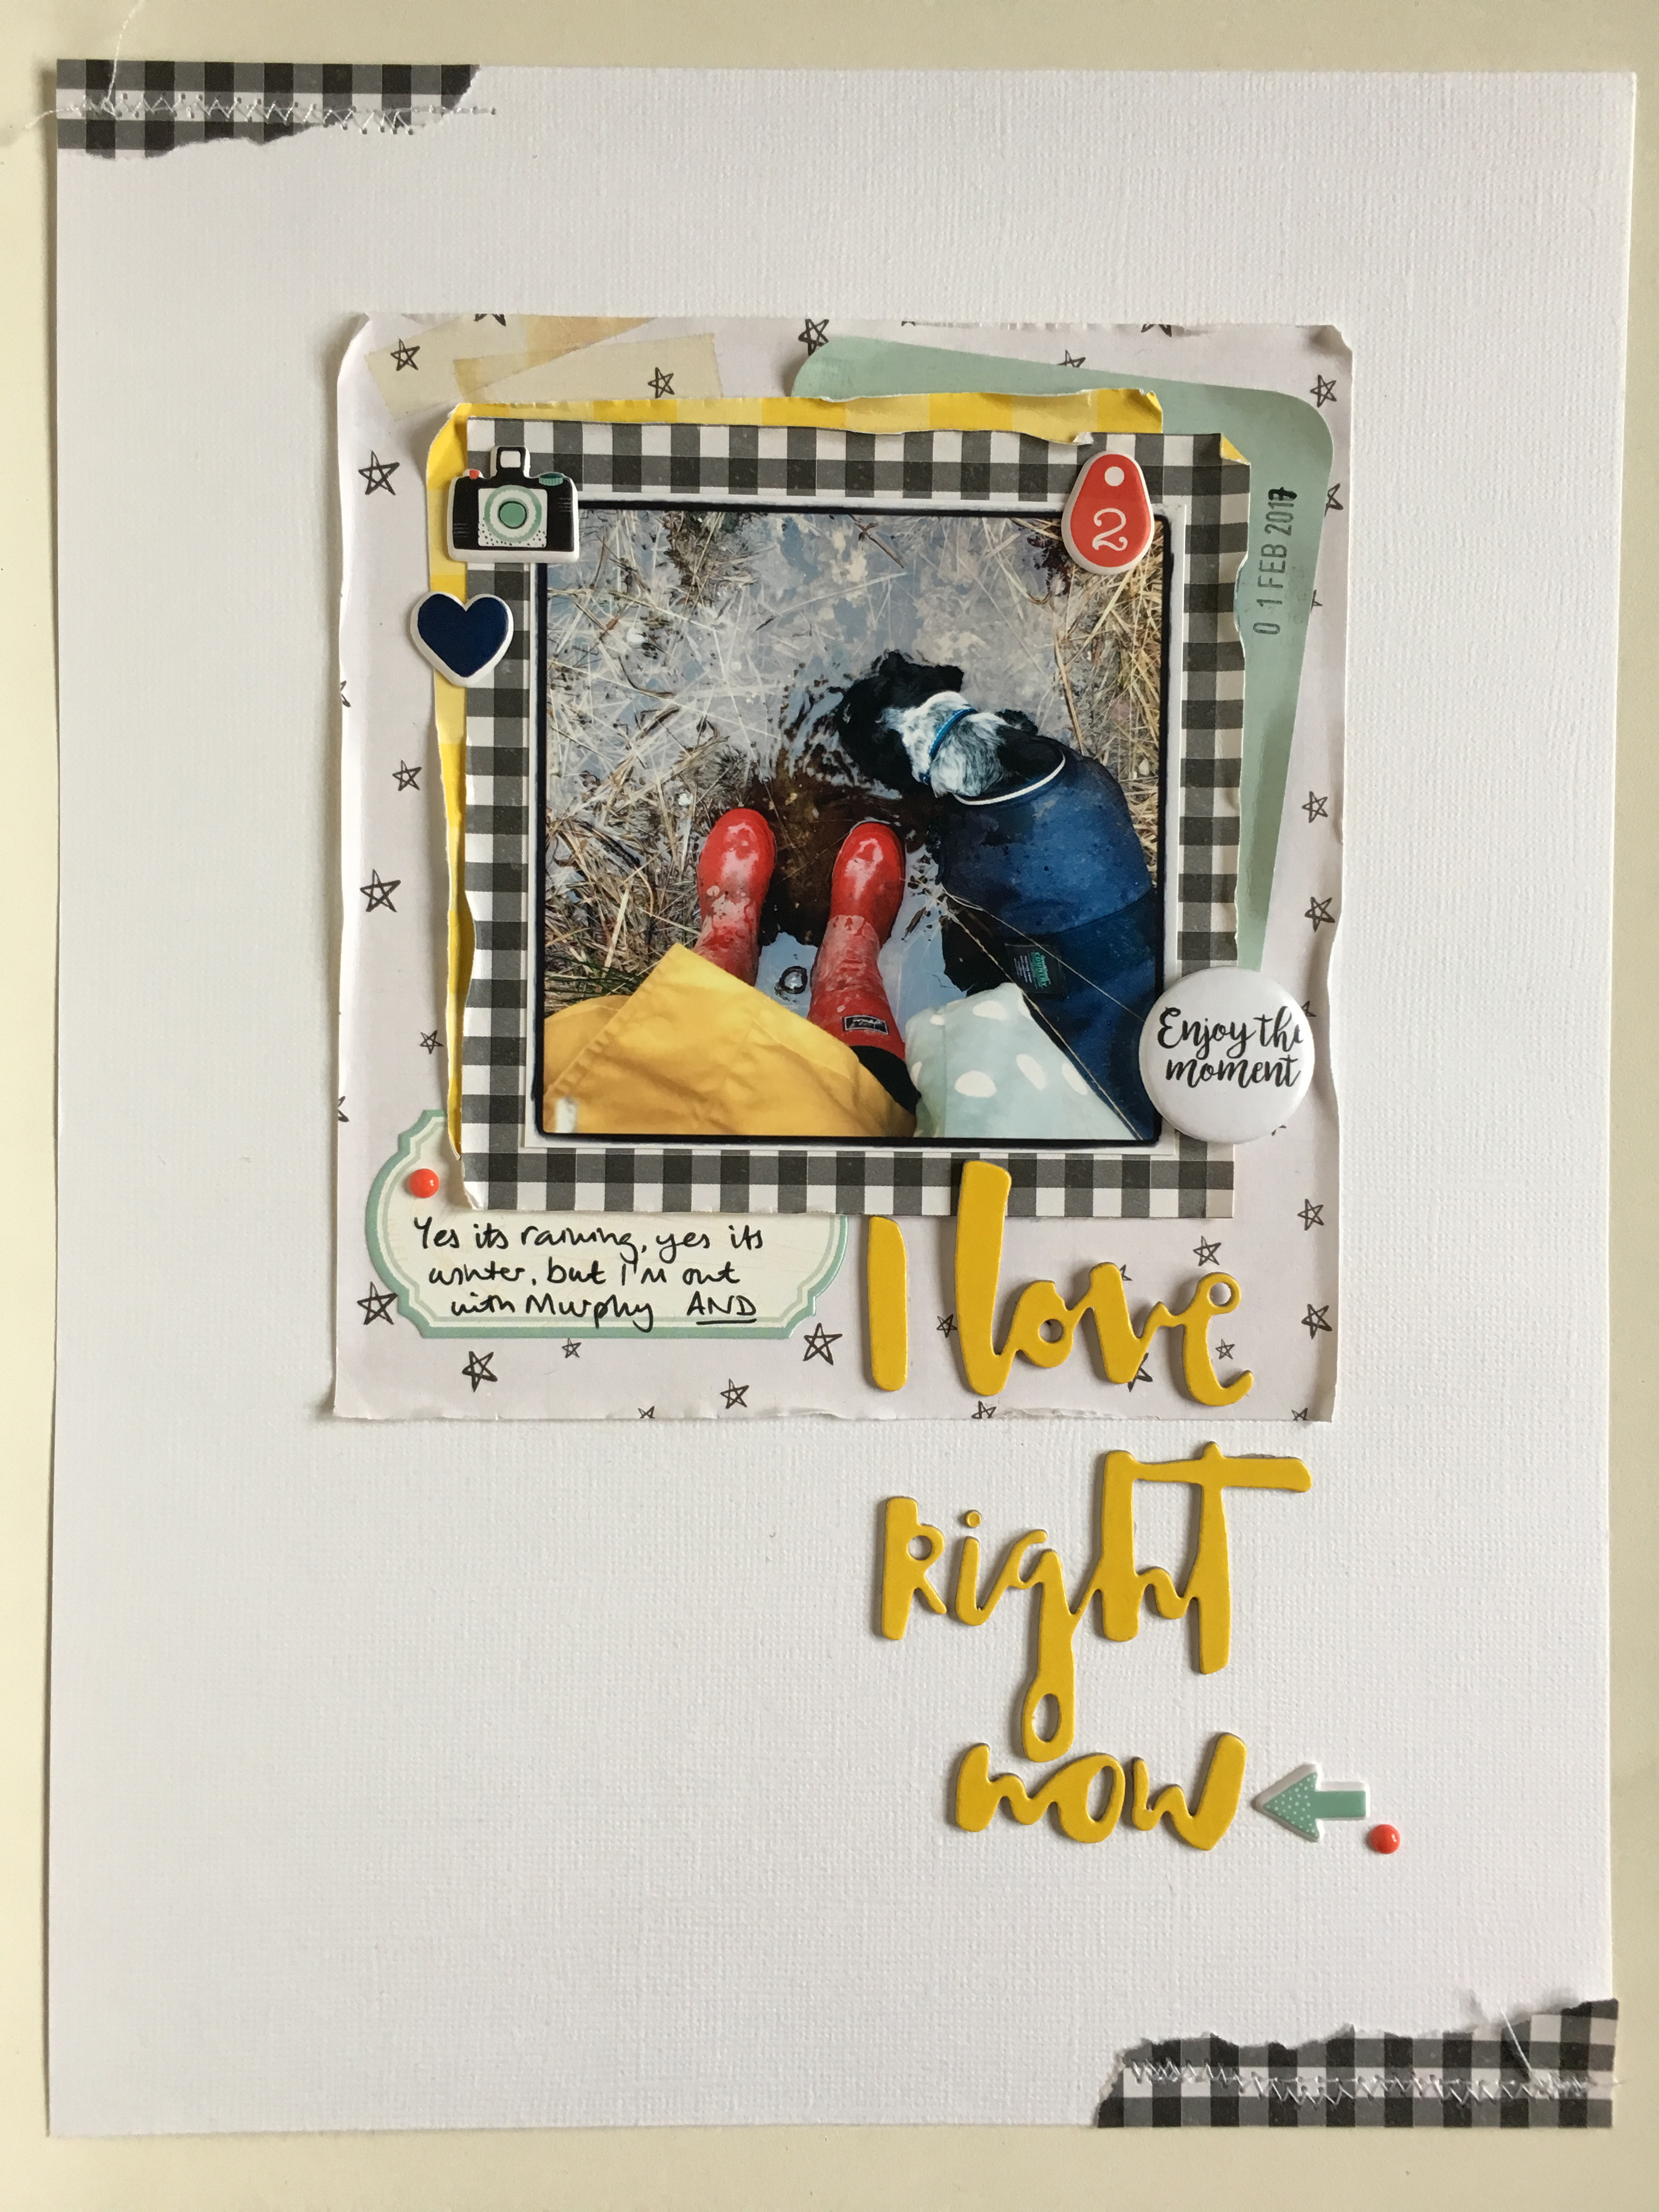
The inspiration for this layout came from the yellow chipboard title ‘I love right now’ (also from the Dear Lizzy chipboard thicker sheet). I wanted to pair this with my new yellow raincoat and how even in the rain and winter weather I am truly happy walking our 9 month old dog.
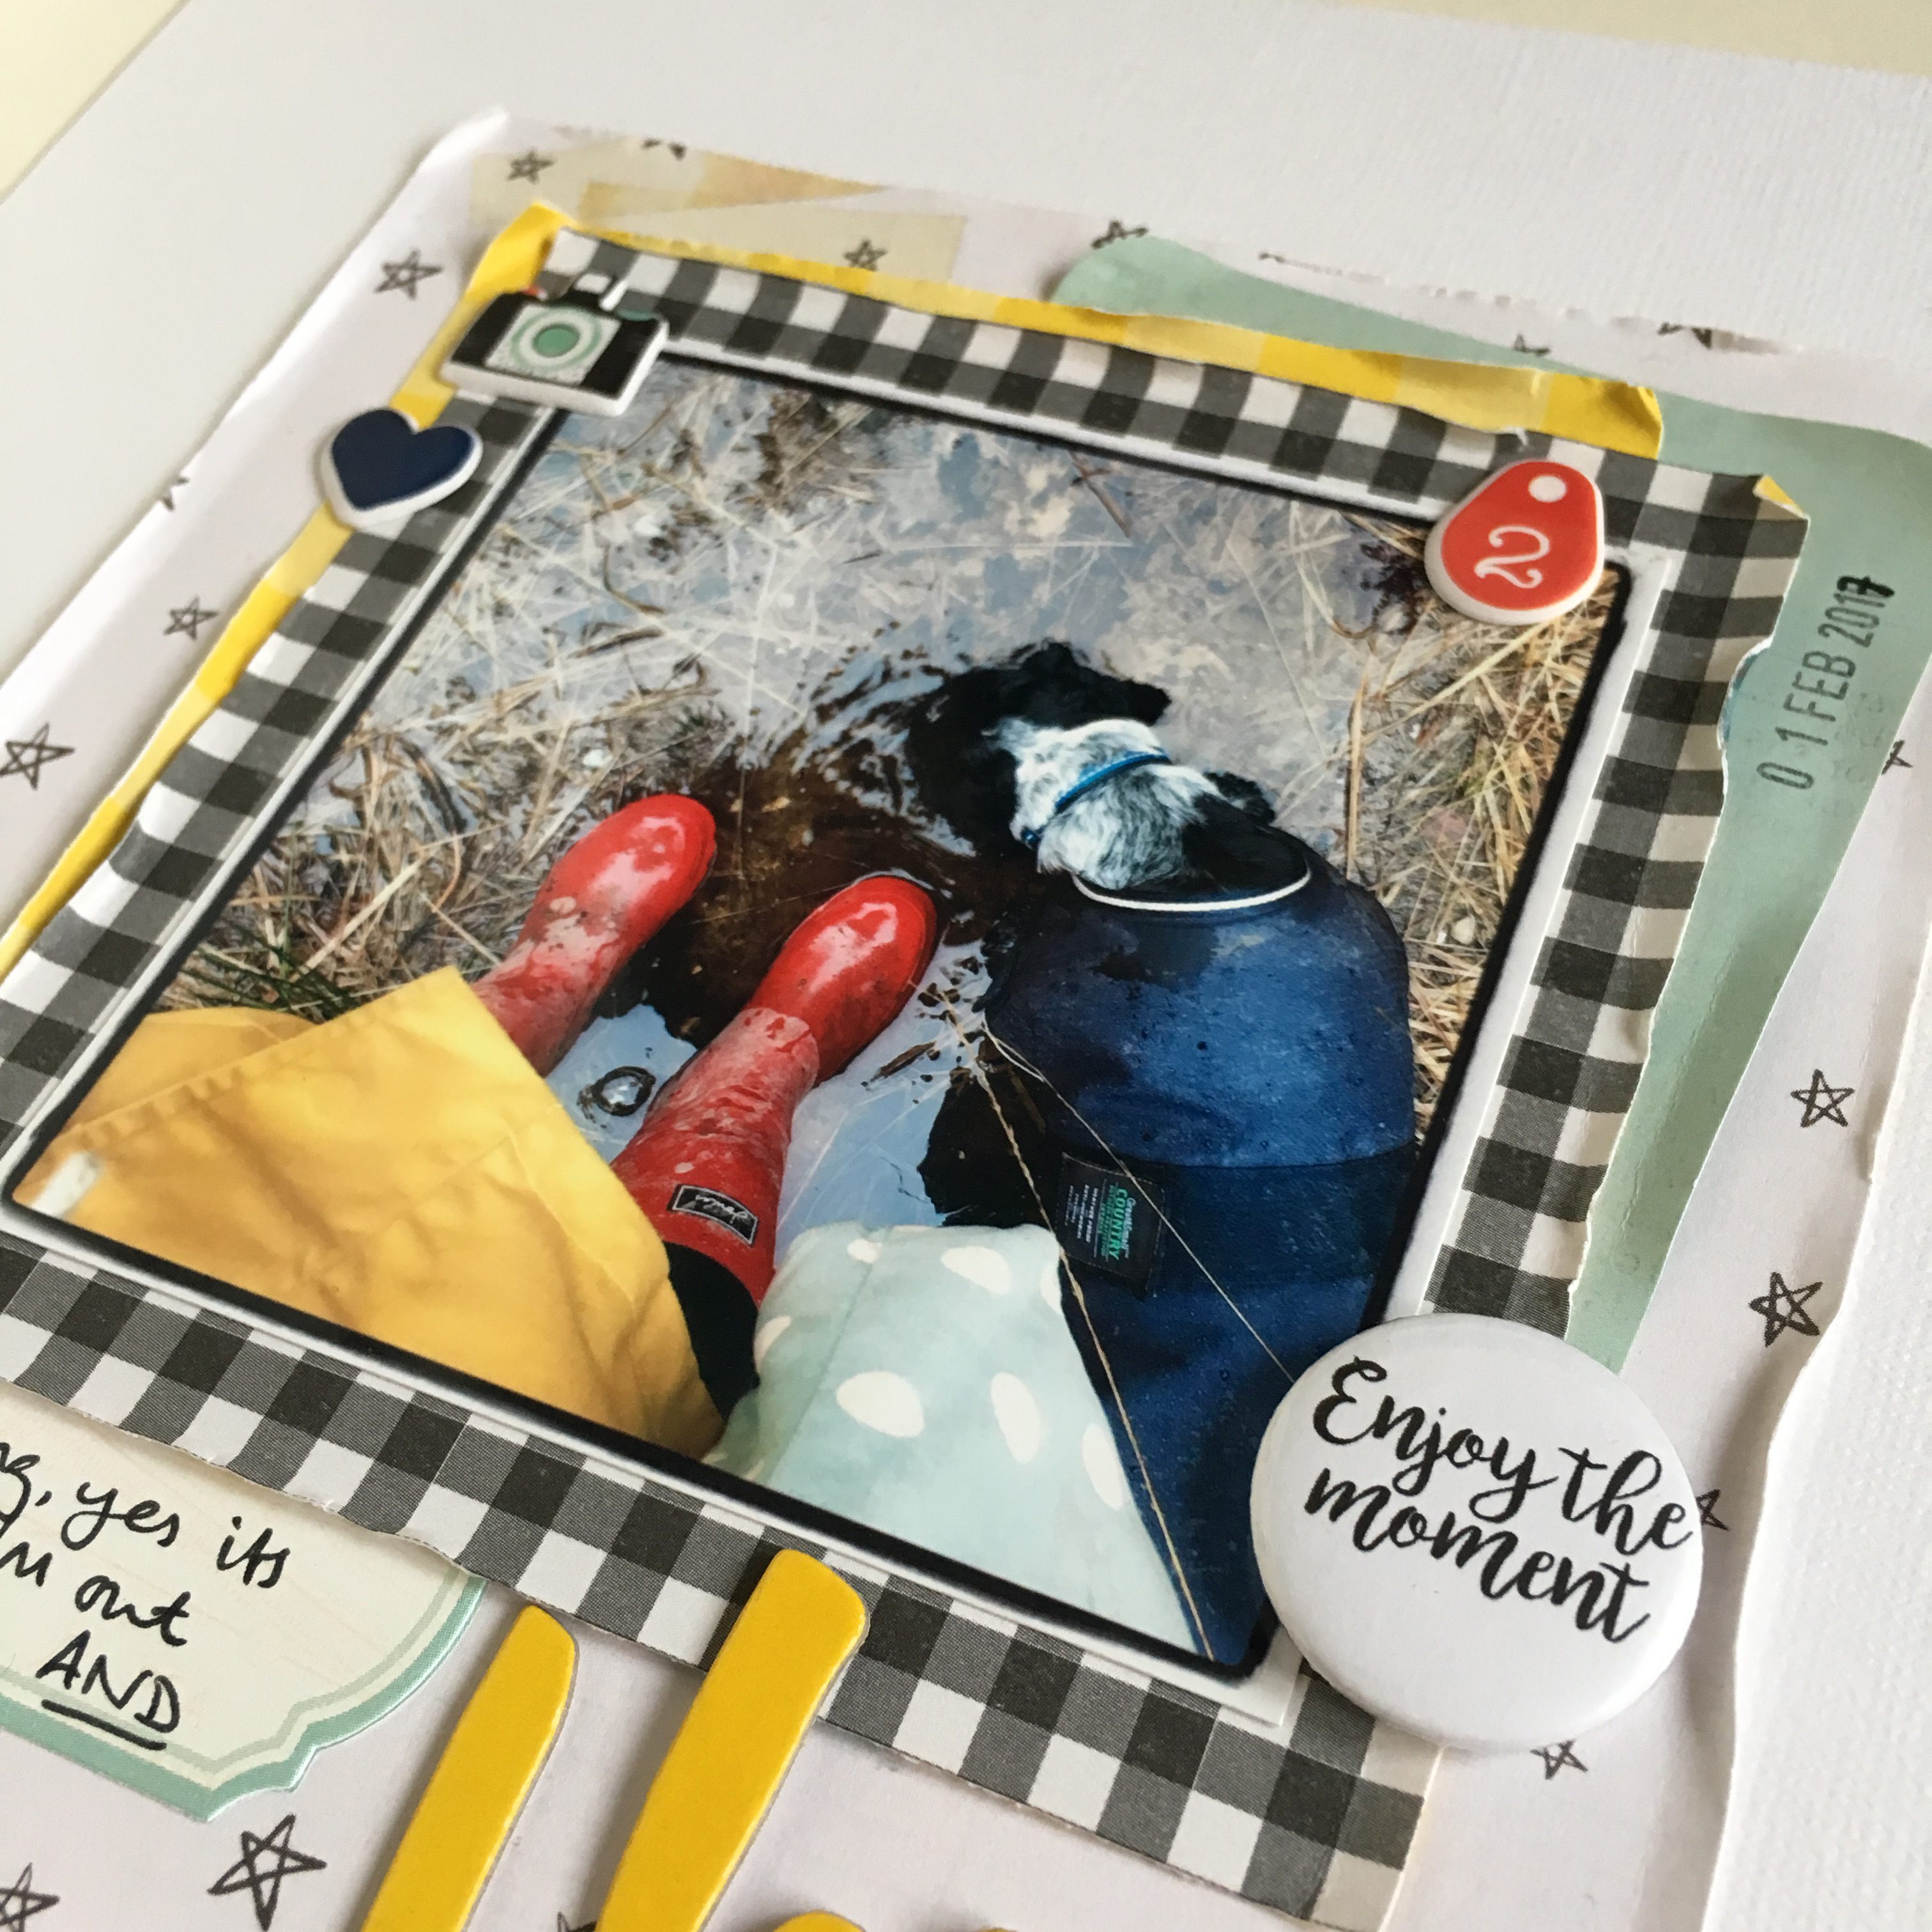
I created a layered photo mat with papers from Crate Paper ‘Little You’ collection called ‘Perfect‘, Maggie Holmes ‘Emily‘ paper and ‘Sunlit‘ paper, both from the Bloom collection. I tucked a Project Life card from the Maggie Holmes Open Book core kit underneath the top two papers because I wanted a green colour that matched my bag in the photo. Added a label from my stash and placed the title down the right side. I stitched two pieces of torn gingham paper at the top and bottom to ground the layout, added puffy stickers from the Dear Lizzy ‘Saturday’ collection, a couple of red enamel dots and finally a Hey Little Magpie flair badge.
Layout 3 ‘Jump’

I had a photo from a family photoshoot that makes me giggle every time I see it, clearly the rest of my family are incapable of jumping at the same time! I made a banner for the title, cutting the letters from the Maggie Holmes ‘Happy Place’ paper and inking the edges before sewing them in place with a ticket cut from the ‘Best Day’ paper.

The background text paper is ‘Thankful Heart’ and the strips top and bottom are from the ‘Afternoon‘ paper (the other side to the large grey gingham). The photo is mounted on craft foam and backed with a piece of ‘Magical‘ paper to make it stand out. I added a second title ‘Just for fun’, three chipboard hearts and two arrows, all from the Dear Lizzy Chipboard Thickers sheet. My journaling is on a piece of ‘Happy Place‘ paper, the a-side and is backed with a piece of the a-side to make it stand out from the background text. I cut more tickets and layered them to make a cluster under the photo. I cut an ‘R – Remember’ flashcard from the Maggie Holmes Bloom ‘Together‘ paper and placed it at the top.
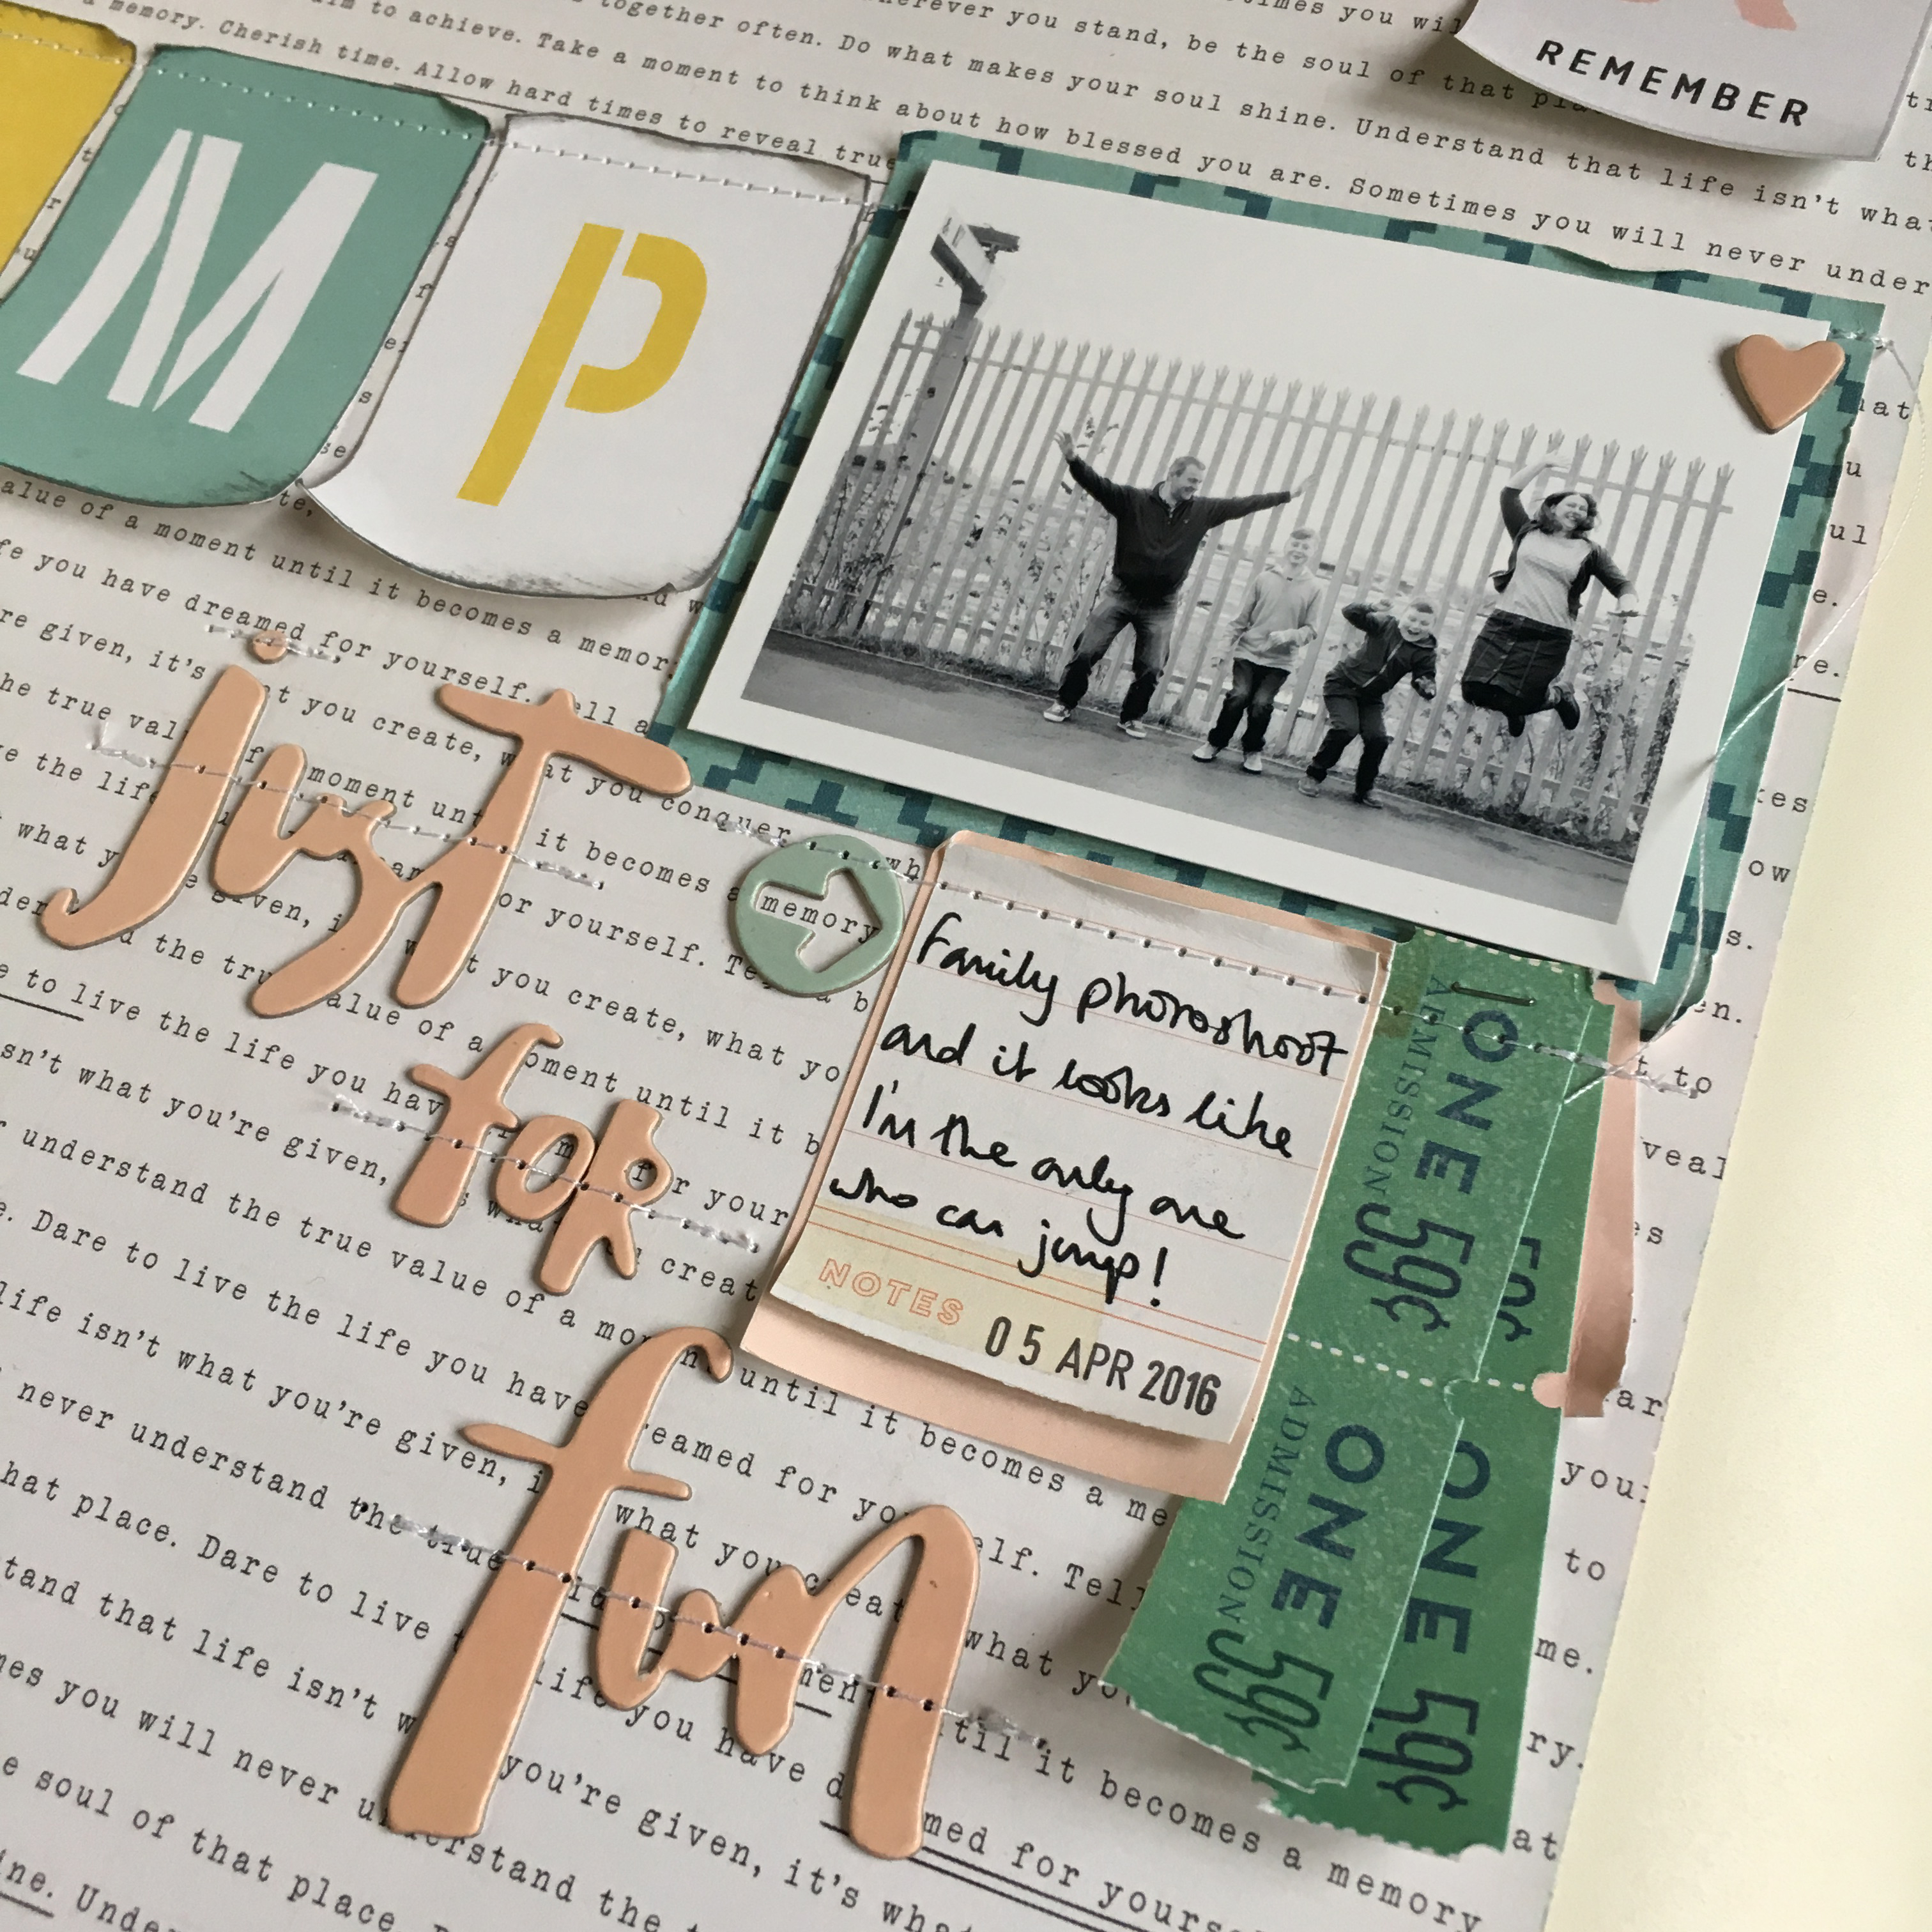
To hold everything in place I ran the layout through my sewing machine again, stitching the chipboard, papers and cut outs in place. I love how this extra detail adds so much texture to the layout as well as making sure nothing falls off!
Photo Banner

I designed this pretty photo banner to be changeable, the photos aren’t stuck in place they are only held by the pegs, allowing the photos to be replaced and updated easily without having to redo the whole banner.

The background paper measures 3.5 x 4″, the middle paper is 3 x 3.5″ and the photo is just under 2″square but trimmed to 3″ long to look like a polaroid with room to write a caption. I’ve cut out tickets from the MH Gather ‘Best Day‘ paper and stapled them to the paper stacks. Puffy stickers from the Dear Lizzy Saturday collection have been used to embellish the photos and each paper/photo cluster is pegged to twine with a peg from the Dear Lizzy Saturday Clothespins pack.


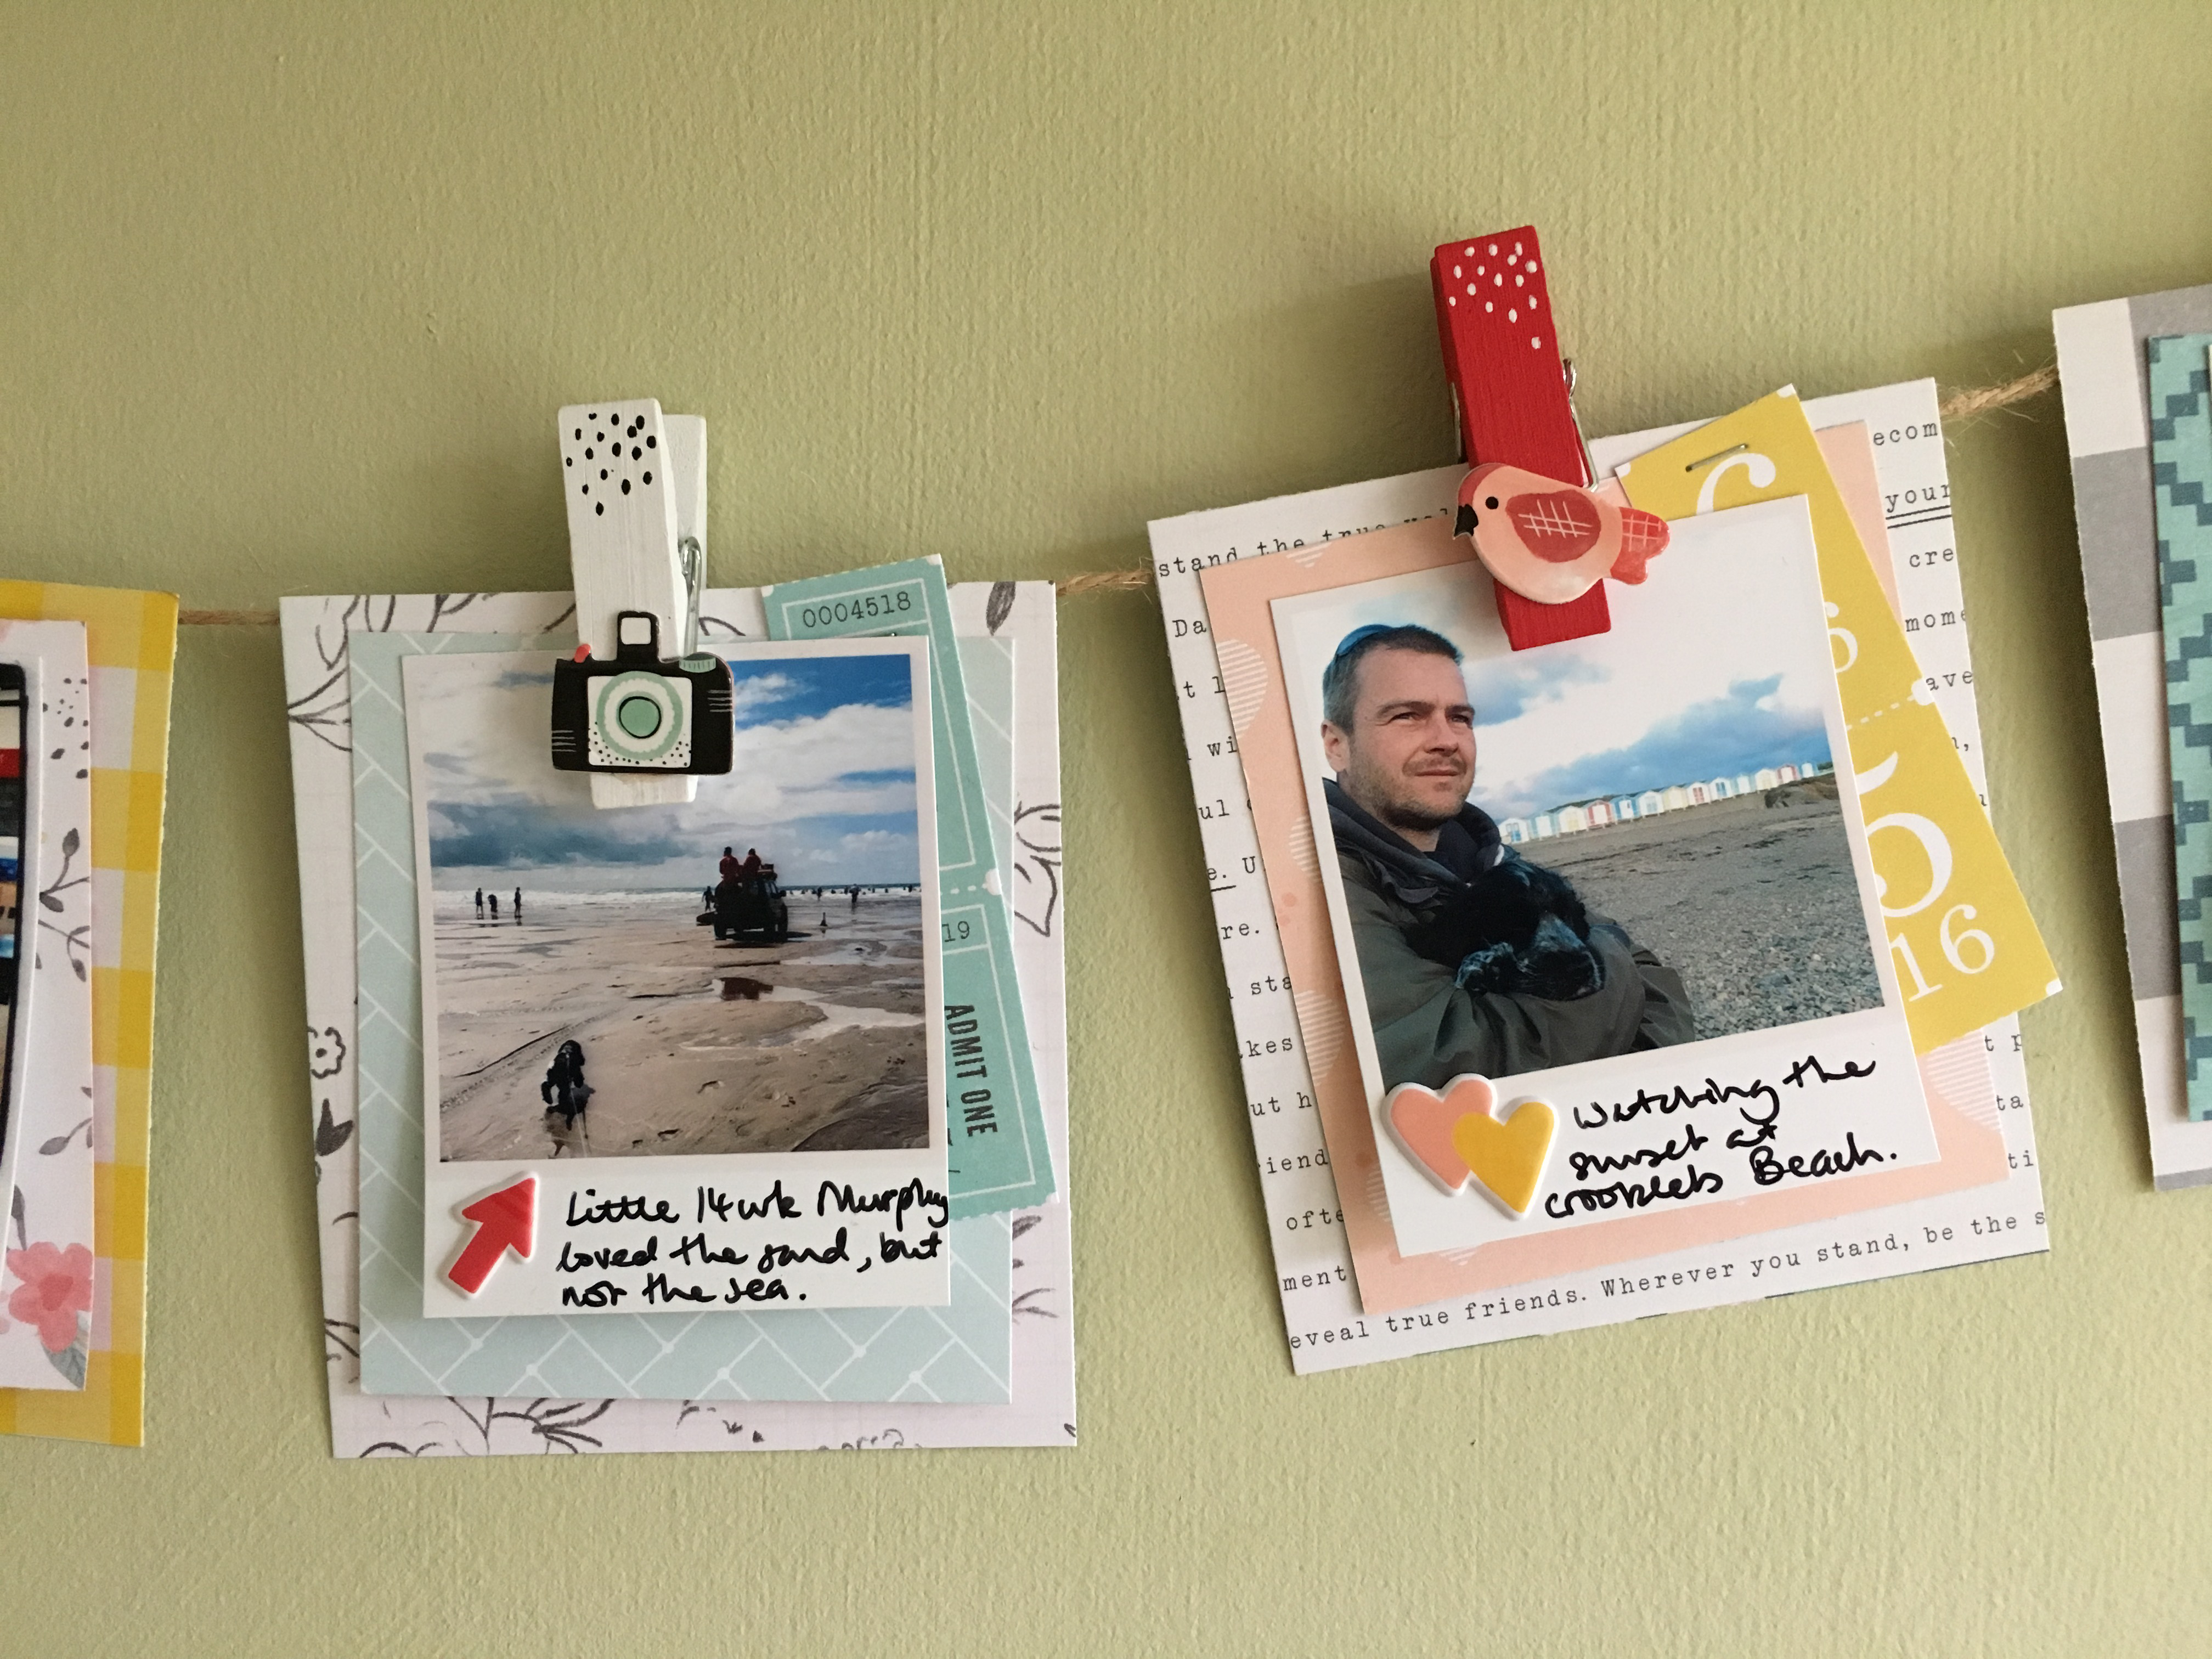
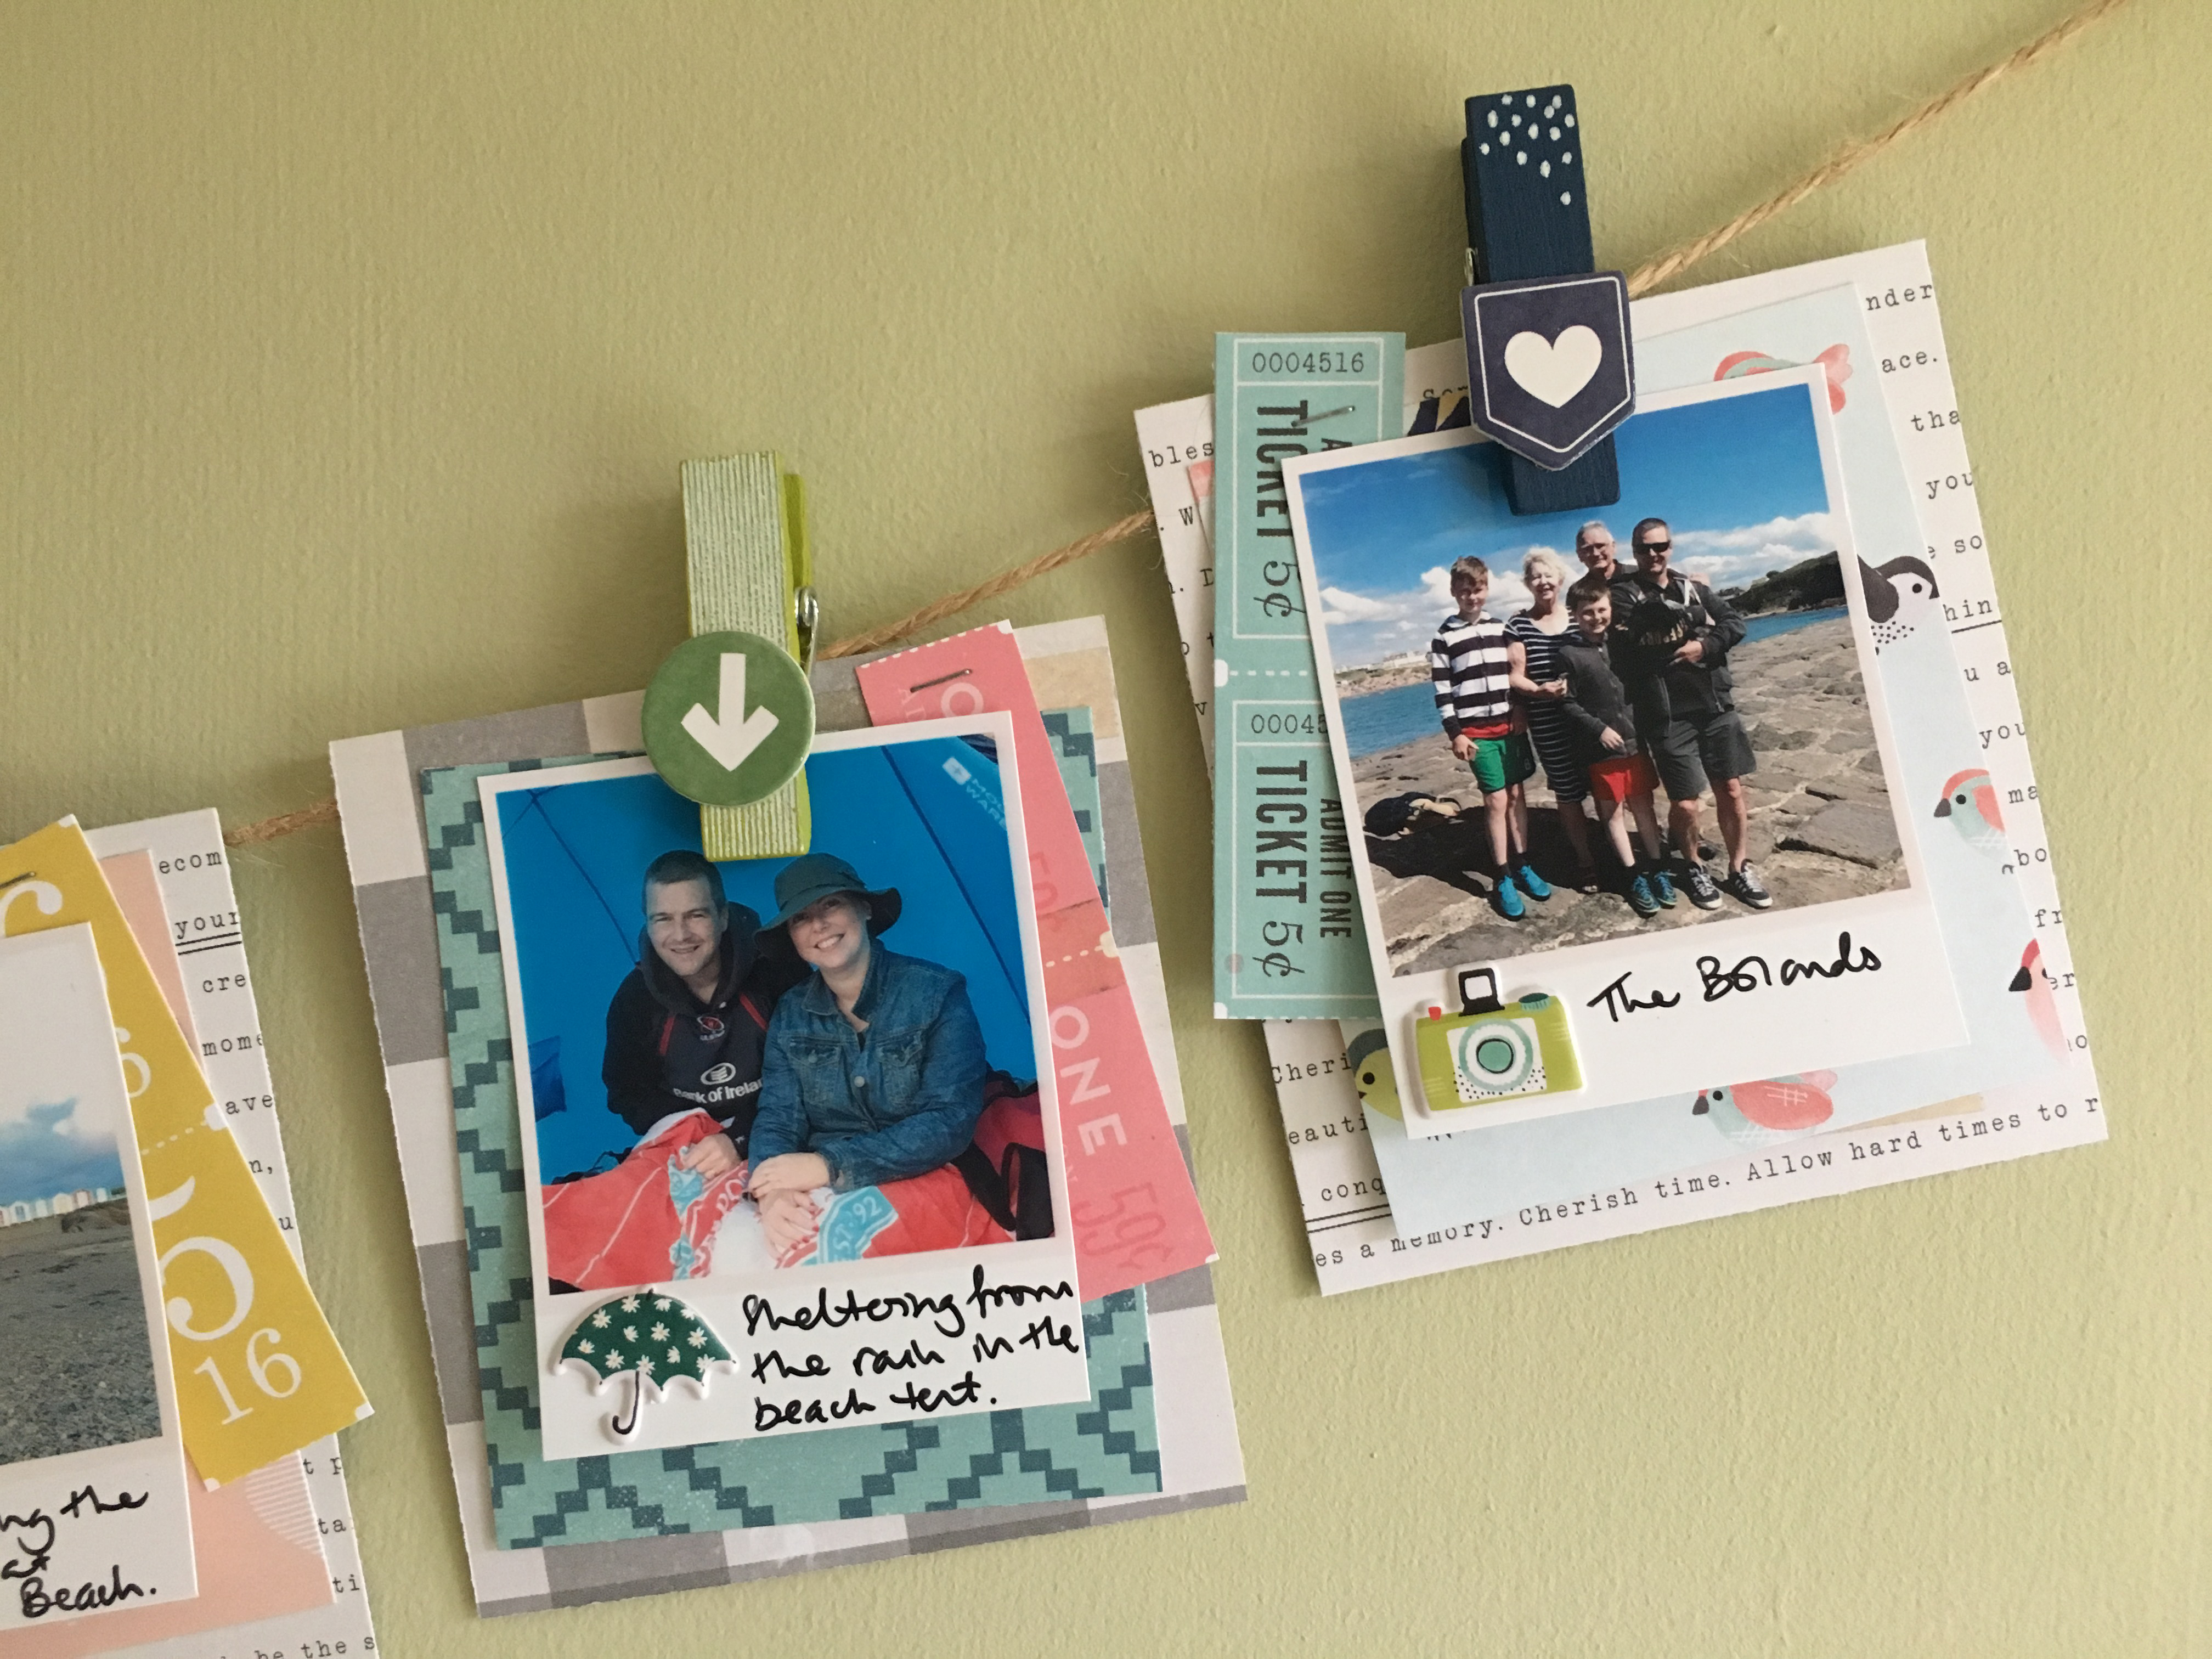
I used a mix of papers from all four collections; Crate Paper ‘Little You’ – Perfect (stars). Maggie Holmes ‘Gather’ – Symphony (light blue), Thankful Heart (text), So Sweet (green and pencil drawn floral), Magical (pink hearts and greeny/blue). Maggie Holmes ‘Bloom’ – Afternoon (large grey gingham), Sunlit (yellow gingham). Dear Lizzy ‘Saturday’ – Stoop (birds), Central Park (pastel florals)
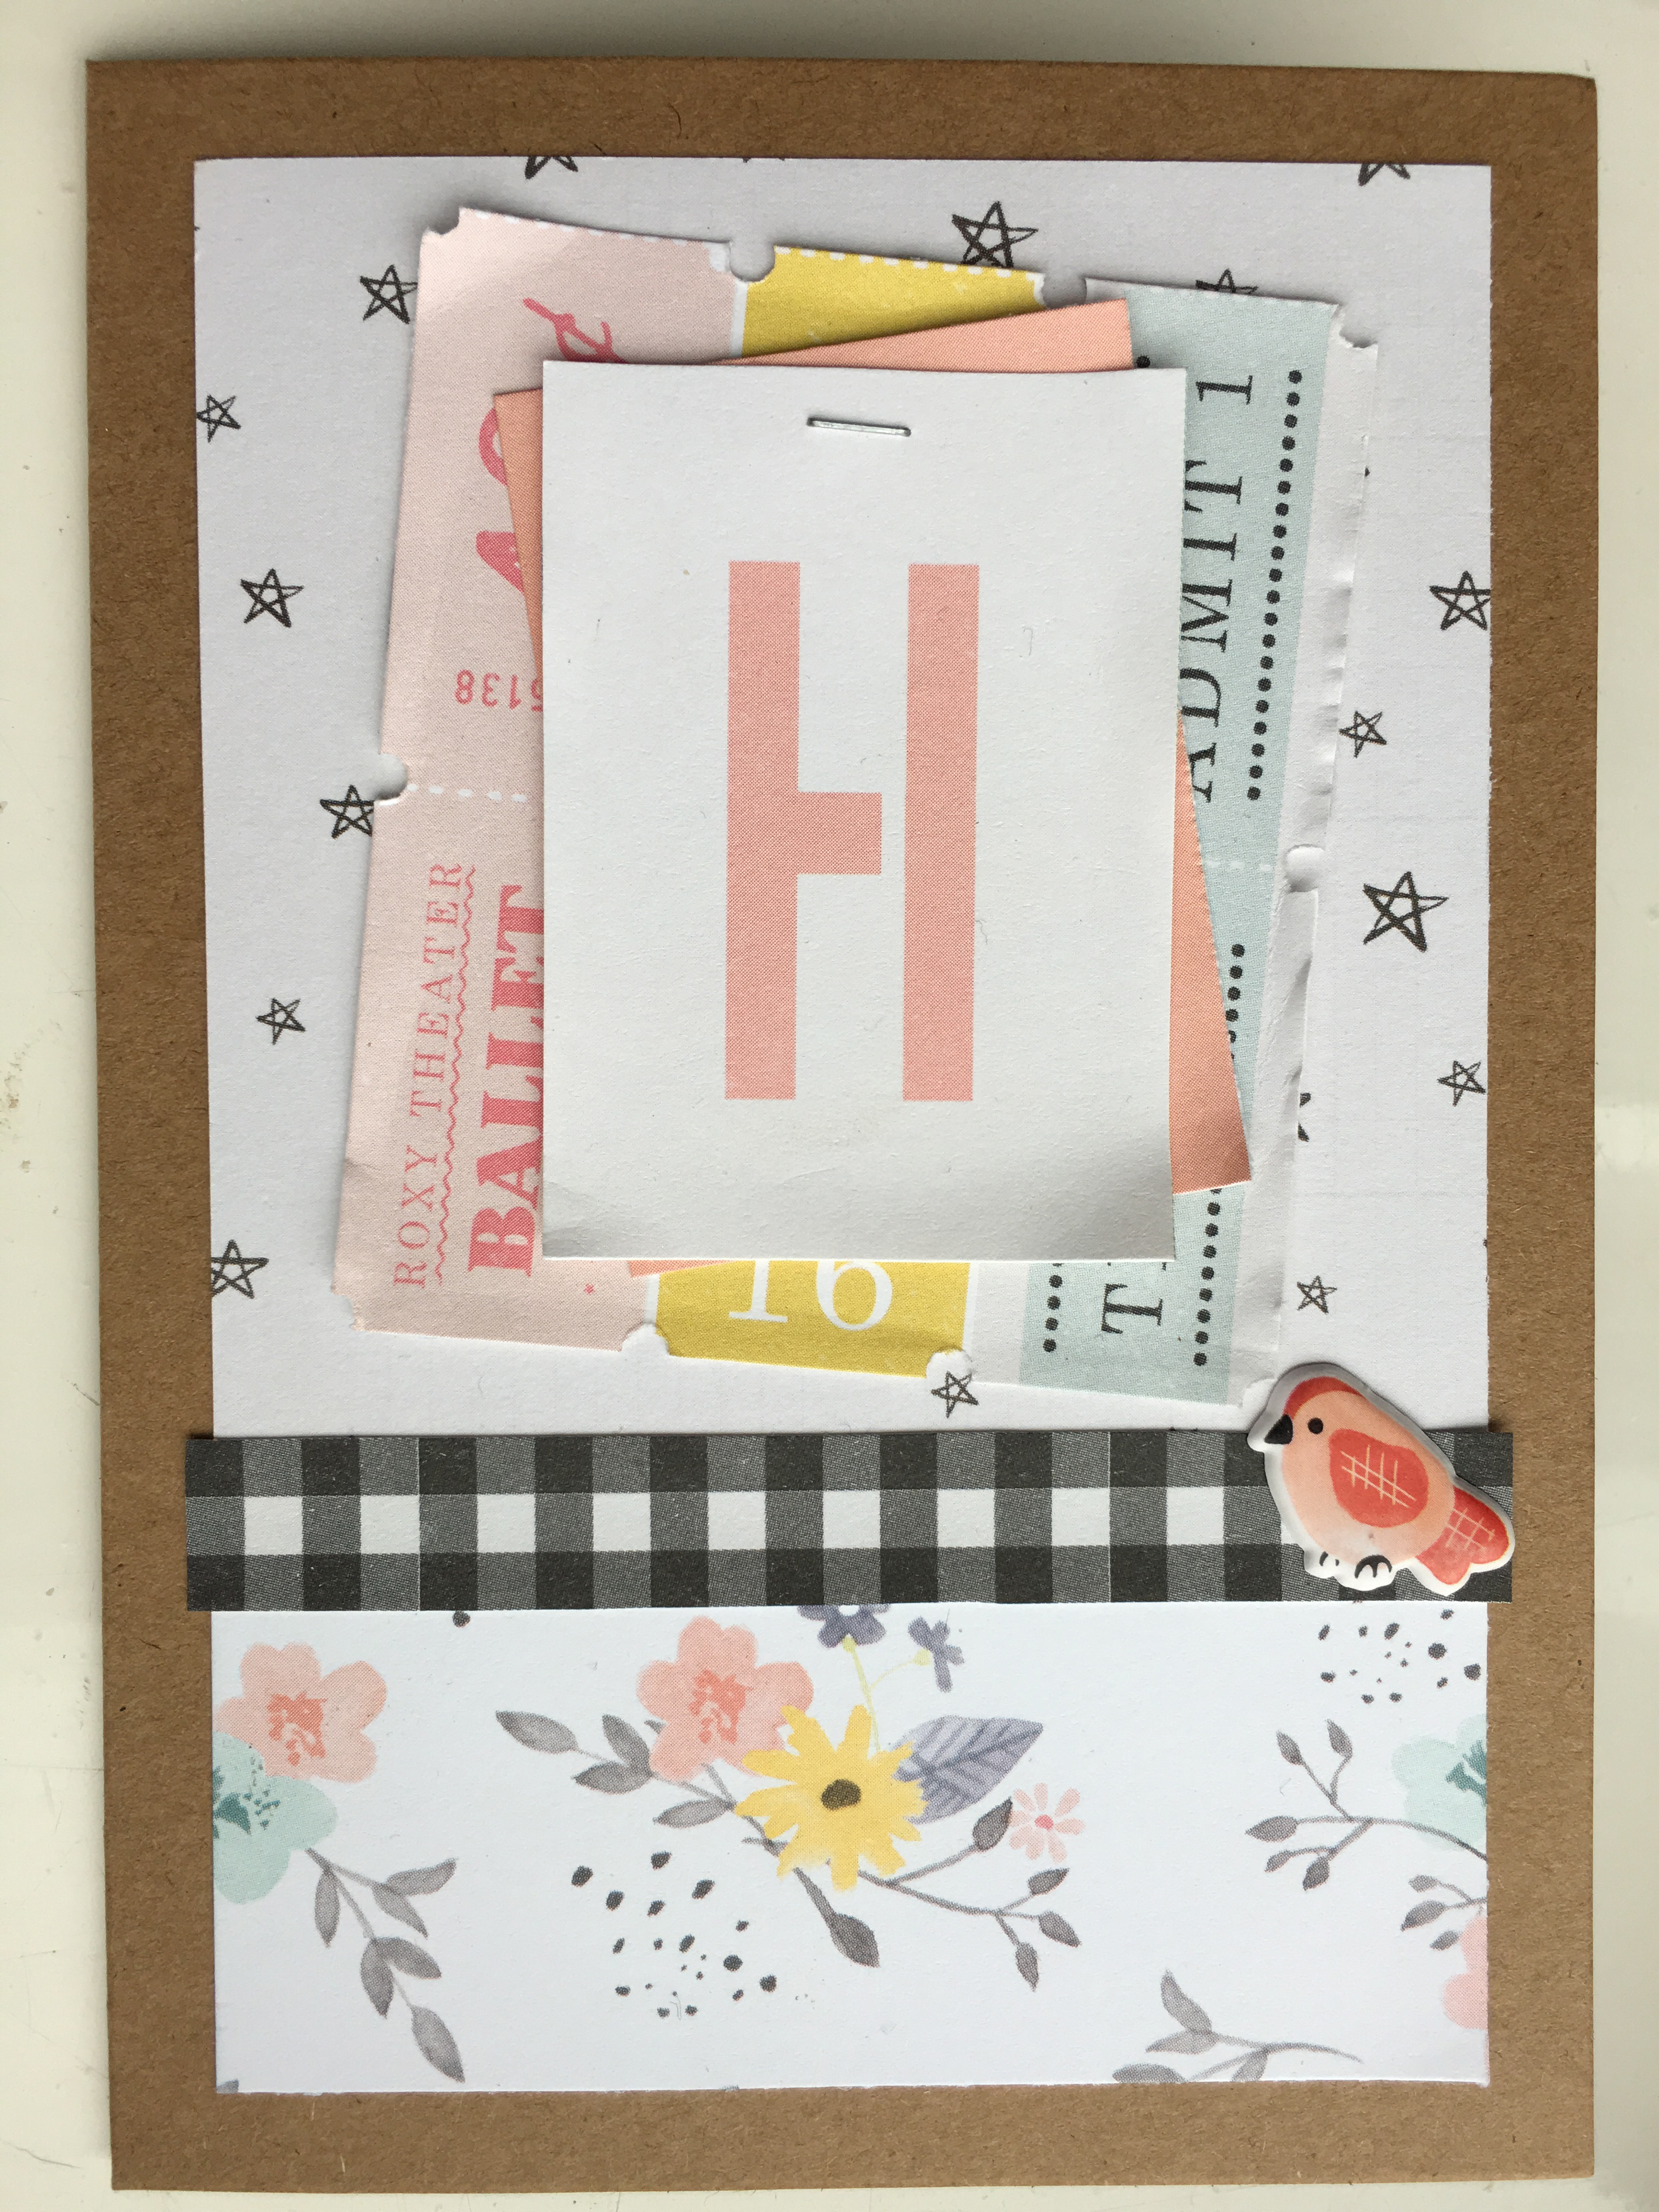
Two Cards

I made two quick and easy cards with some of the leftovers; Crate Paper ‘Perfect‘ paper, Maggie Holmes ‘Best Day’ (tickets) and ‘Happy Day’ (letters), all from Gather collection and a strip of ‘Emily‘ (gingham) paper from the Bloom collection, plus Dear Lizzy ‘Central Park’. I embellished each with a puffy sticker from the Dear Lizzy Saturday collection. The letter on one has been mounted on foam and on the other it has been layered and stapled.
It’s been fun mixing older collections and I’m looking forward to mixing my leftover stash with the new collections coming soon!
