Must resist…

Wow, I can’t believe another month has gone by so quickly… and here we are again, with my turn for a blog post!
This month I have been playing with the Maya Road Resist. If you love the mists, you really must have a go with the resist. It has a super fine applicator so you can be really precise applying the resist, and unlike the resist medium I used in Art collage, it has a wire in the lid to prevent the applicator from blocking up when not in use.

The first LO I have to share uses the resist to create a background. I started out with white cardstock as my base.
Using the resist I wrote my title freehand onto the card, and drew a few doodle flowers and added some random spots here and there. You don’t need to worry about making a mistake, as anything you’re not happy with can be rubbed off really easily.

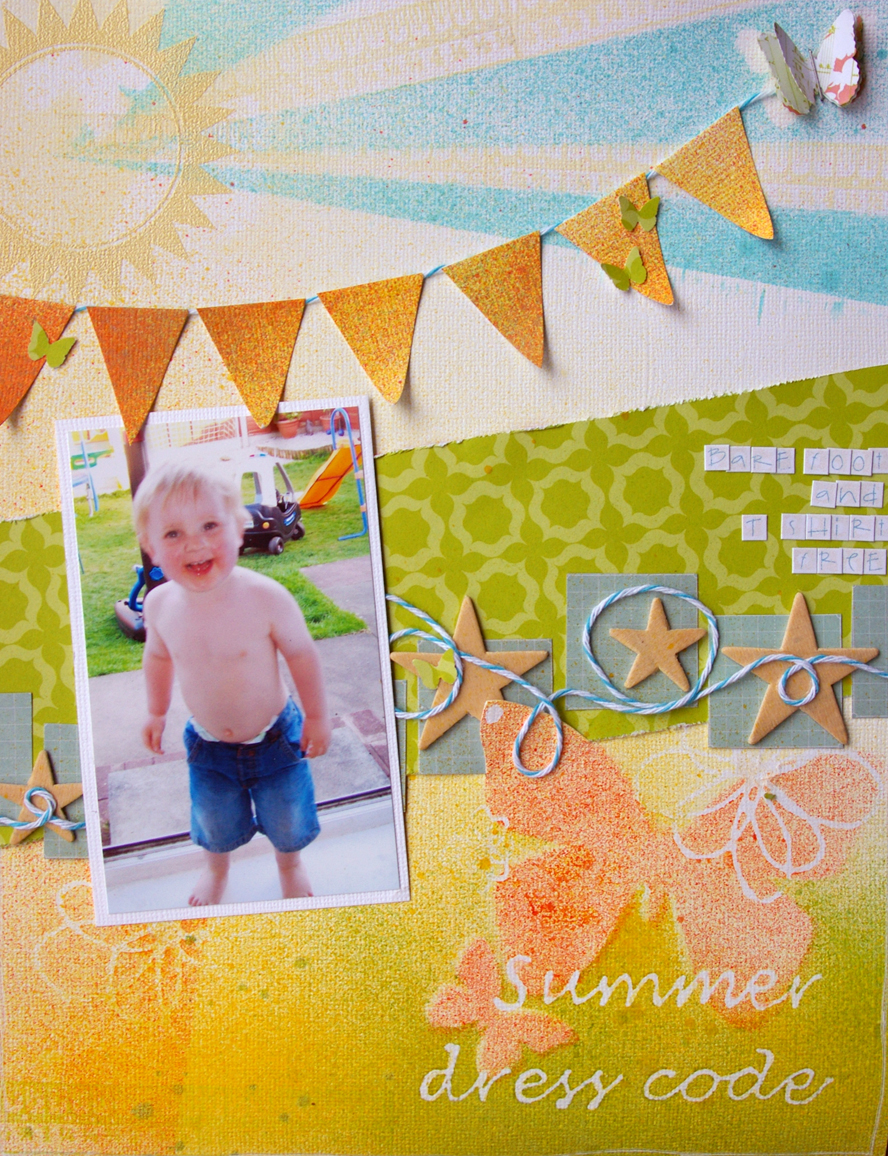
After the resist dried (about 10 minutes depending on how fine you have used it). I hand cut a couple of butterflies to use as masks, and placed them where I wanted them, before spraying with cream and yellow mists.

 I also used the paper the butterflies were cut from as a stencil to spray over, using orange.

I know it wouldn’t do for a lot of people, but I really like seeing the straight lines created by misting along the edge of a piece of paper… in this case the butterfly stencil. I used the same technique to add some teal stripes to the top of the LO, using more butterflies as masks.

Once the mists have COMPLETELY dried, you can pick off the resist. It’s VERY important that you do wait for the mists to be dry, or you can take off the top layer of paper with the resist. I like the effect this can cause, but if you want the design you have drawn on, you need to be patient and wait. I use my finger to rub the resist away… it’s easier than faffing about with tweezers or other tools!
I built up the LO by adding a strip of this Pink Paislee paper, with some squares cut from this Studio Calico paper. I used the wood veneer stars as they were, before looping some aqua baker’s twine randomly across the page. I used my trusty Jenny Bowlin seal stamp with Zing embossing powder in butter, as a sun. In between the teal mist stripes I stamped with the Jenni Bowlin ruler border stamp, using a butter coloured ink for a very subtle, barely there effect.
The LO was completed with some bunting cut from a misted piece of white card, attached to baker’s twine, and a few punched butterflies and some Adornit alpha stickers.

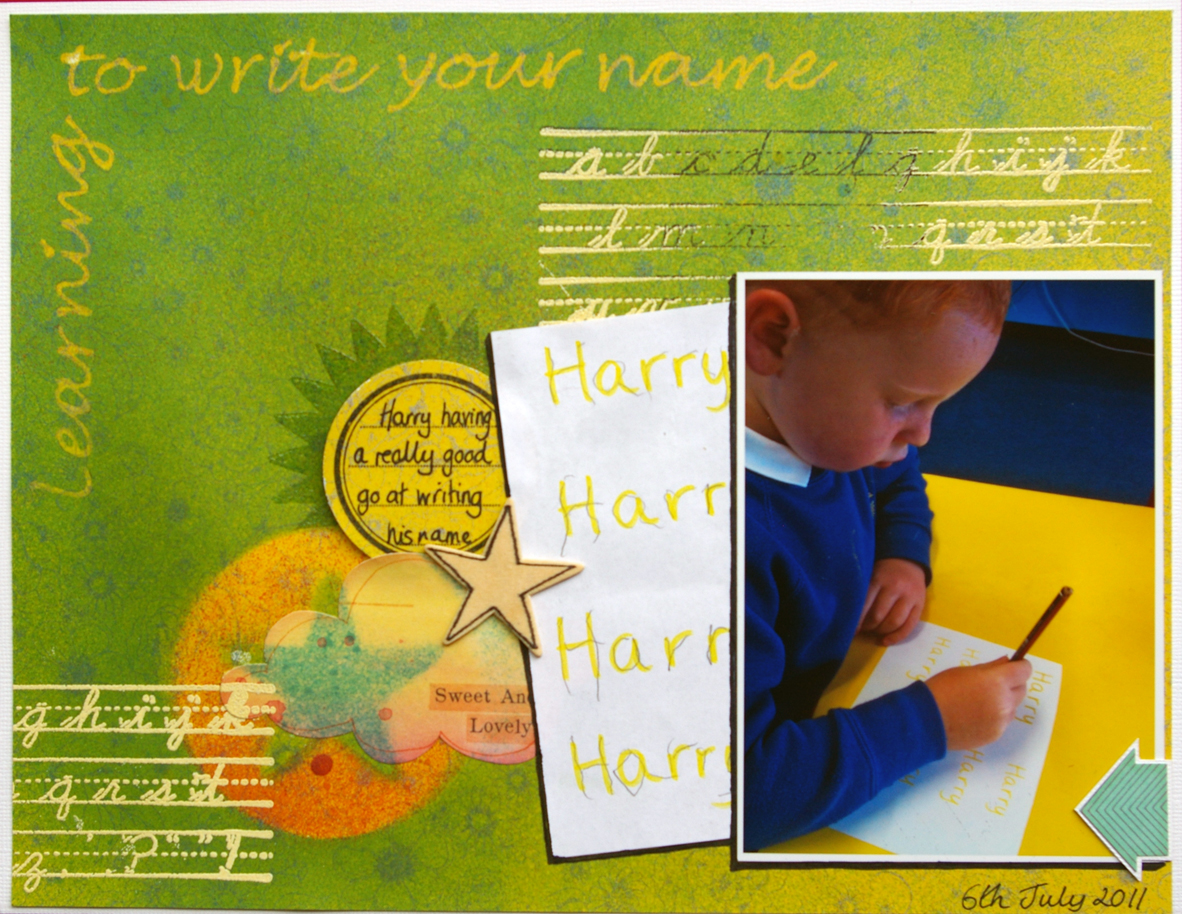
I love how easy it is to write using the resist, and used the same technique for my title on my next LO. I used this Pink Paislee paper as my background, and wrote the title going round the corner in my best joined up handwriti
ng. I used a punched circle and a wood star as masks, to create the fun detail over the top of a Sassafrass cloud sticker. I like playing with layers of mist, to add interest to LOs, it’s fun and very random, and you can create some beautiful results… why don’t you have a go and share your work with us, by leaving a link in the comments box.

Well that’s all for now… I’ll be back soon with another LO to share.
Happy resisting…
Lou
x

By opting in, you agree to receive marketing emails from Hey Little Magpie. We won't spam or share your details, and you can unsubscribe at any time. Data is stored and processed in accordance with our privacy policy.