Minc Meets Frozen

Niki here, back with more ways to use the Minc Foil applicator which is fast becoming my favourite bit of kit. My focus this month was to have a go at applying foil to different mediums – on my list was the special Minc patterned papers, acetate, vellum, patterned paper and chipboard.
I first attempted acetate. Now, it turns out that running regular acetate through a laser printer doesn’t work, the acetate simply melts in the printer D’oh! It would appear that ‘heat resistant’ acetate is required for this and mine clearly was not heat resistant. So that experiment went on hold for a few days while I waited for some heat resistant acetate to arrive in the post. Not a good start 🙁
Acetate placed to one side and on to patterned paper instead. This worked very well – simply print your desired image in black onto a piece of patterned paper cut to A4 size (or any size your printer will take) and you then have something you can run through the minc. I would recommend using a patterned paper that reads as a solid, i.e. not too heavily patterned and not multiple colours, becuase your foiled design will get lost on a busy background. Plain card or paper would work but I always like things to have a bit of subtle pattern, so I chose a aqua paper with a subtle starburst darker aqua pattern on it. I printed a journaling card as well as a few words.


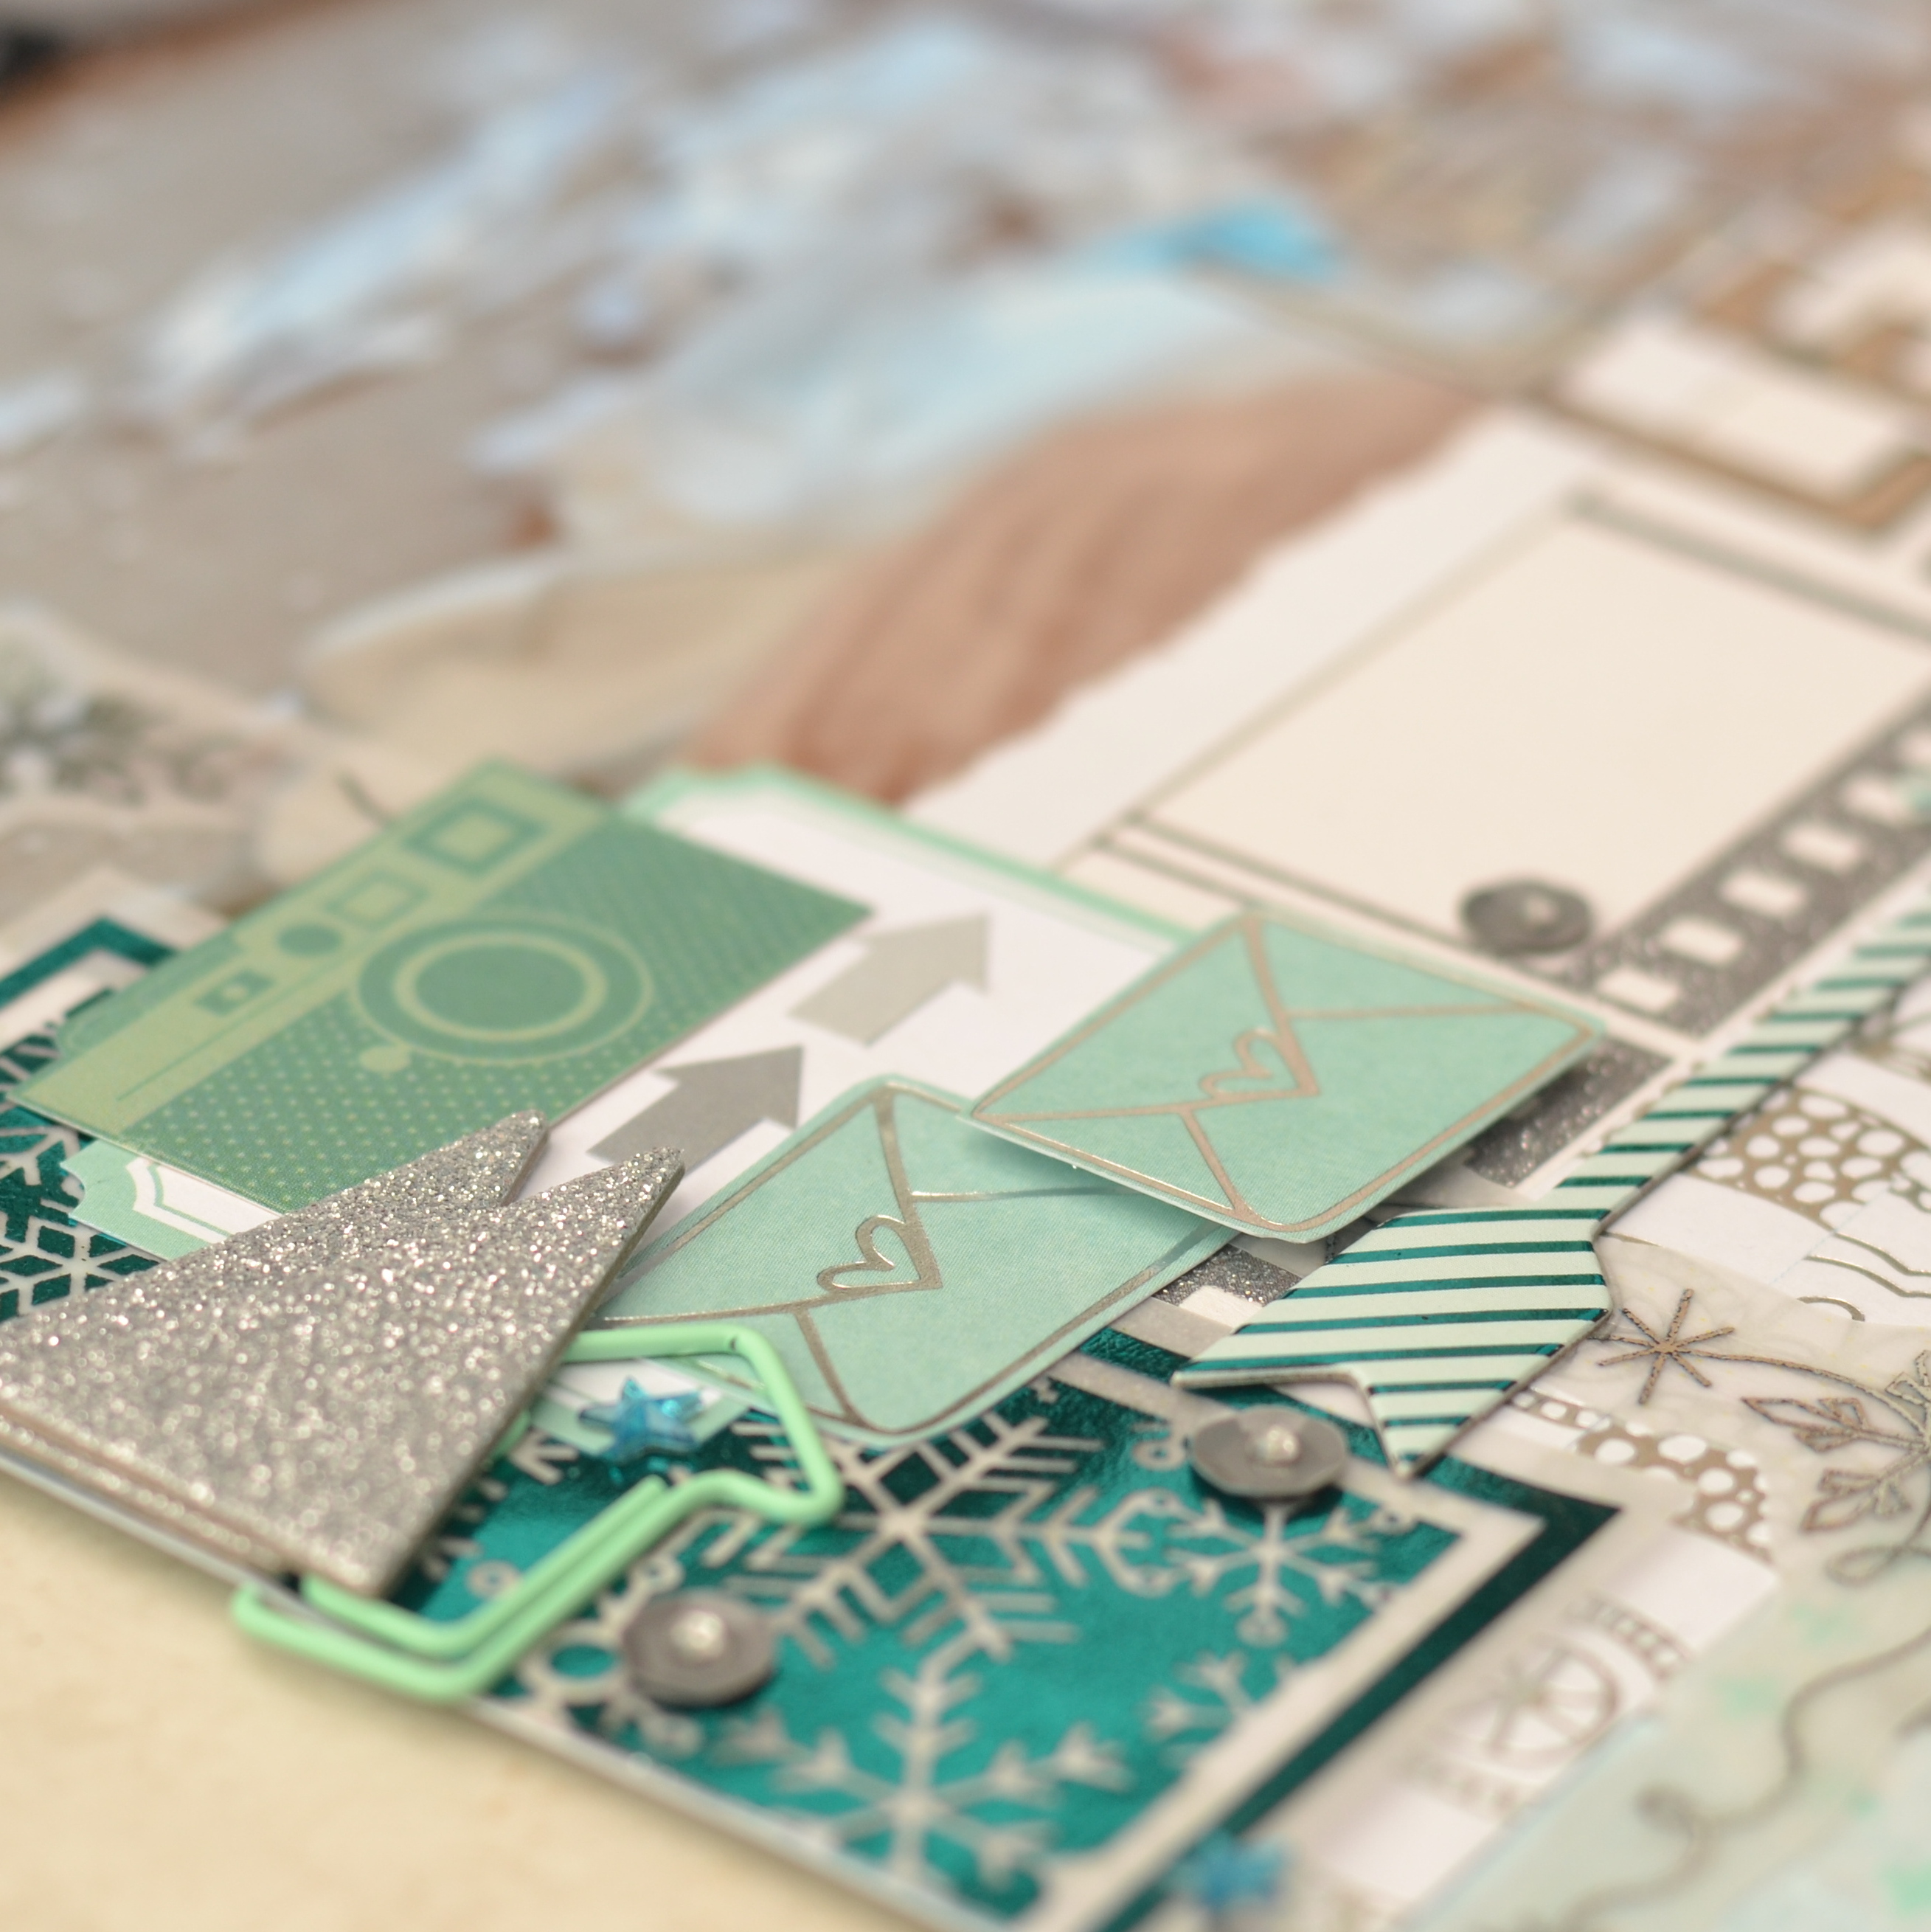
Next I moved onto the Minc patterned papers. These are designed to work with the Minc machine so they obviously worked really well and the results are stunning. I used this confetti paper from the 12×12 paper pad and also a wide stripe which I foiled in teal from the 6×6 pad.

Chipboard was my next effort. I haven’t got any chipboard thin enough to run through my laser printer (note to self: must research this to see what’s available) so I cheated and bought the Minc Chipboard shapes – well, they are so much less effort aren’t they – someone has already designed them with pretty patterns, cut them out and packaged them ready to be foiled! The chipboard shapes are thinner chipboard than any that I have ever seen before and you get loads of them in a pack. I chose a few and foiled some in teal and some in silver. They result in the most perfect embellishments.

Next I tried vellum I was a little un-inspired as to what to print onto my vellum – Claire’s post earlier in the month really shows what to do with vellum, she printed a large title onto a sheet of vellum and used the whole thing to overlay part of her photo and the result is stunning. I was in experimenting mode rather than creative at this stage so simply printed a couple of images onto an A4 vellum sheet to see how it would take. I did a snowflake frame which is very subtle and I foiled in silver, and a block snowflake design which I foiled in teal. The foil took really well to the vellum. I just need to get a little more creative with my use of vellum!
Now that I had tried foiling all the different mediums it was time to start making layouts. I had been muttering to myself about wishing I could foil my silhouette cut files somehow all the way through these experiments, so that I didn’t have to cut everything out from an A4 sheet, when suddenly I had a LIGHTBULB MOMENT! (quite rare for me). I’d already cut a title for my first layout out of aqua cardstock, which I then stuck to a piece of A4 paper using non-permanent adhesive (spray adhesive would be easier but I didn’t have any – I do now though!). I created a large text box on my PC and filled it in black and printed onto the cut out title that was stuck to the paper. I was worried it would come off in the printer but it went through beautifully:

this left me with a cut out title, covered in black toner, which I could then foil using the Minc. A-MA-ZING! I had already cut the title out of textured cardstock so the toner didn’t get in all the grooves which meant the finish of the silver foil wasn’t perfect and quite a bit of the black showed through. Smooth cardstock is the way to go with this.

I am sooooo pleased to have figured this out becuase it means I can foil any shape that I can cut on my Silhouette – the possibilities are endless! I tried an intricate snowflake cut file next which came out so well.

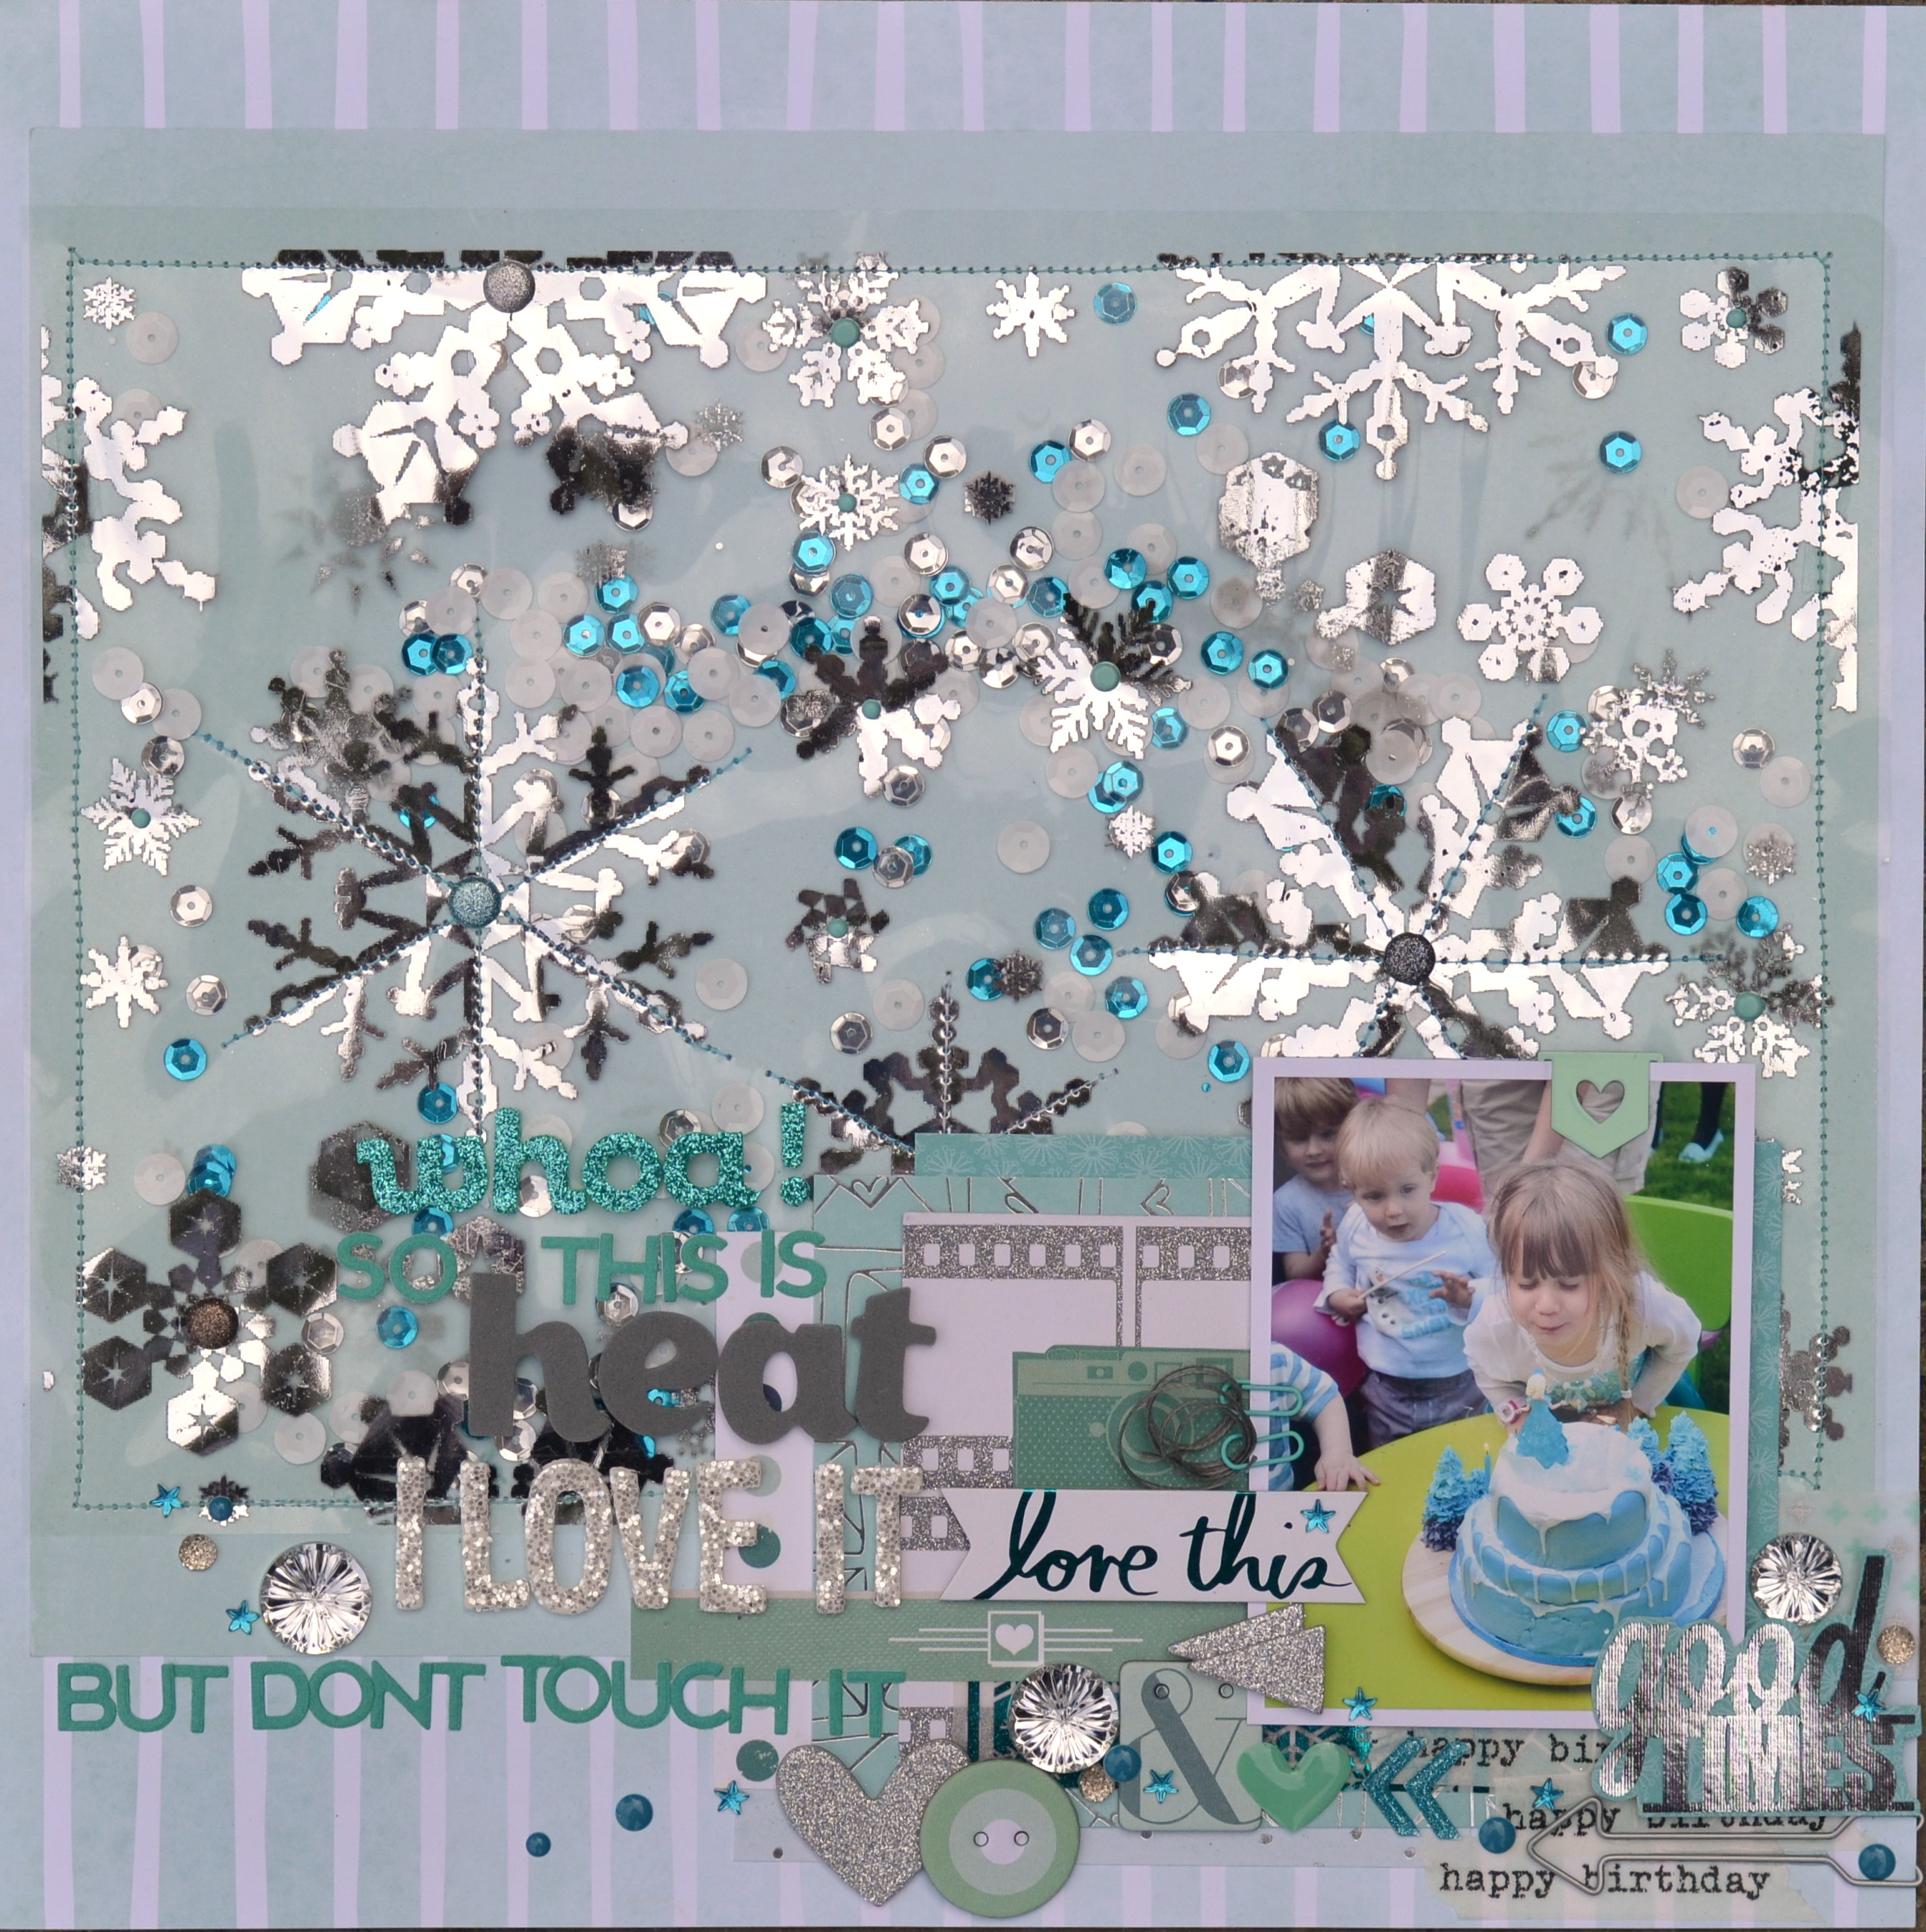
Right, after all that, if you are still with me, I will finally move on to the layouts I made. My little girl has just turned 4 and is completely and totally obsessed with Disney Frozen. We threw her a Frozen party so all my layouts relate to Frozen somehow!
An Act of True Love uses those two Minc papers – the confetti and the wide stripe. There’s also a few of the chipboard shapes.

In ‘Let it Go’ you can see the journaling card and the ‘sweet little moments’ which were both printed onto patterned paper. Again there’s a few of the chipboard shapes and the fabulous ‘Let it Go’ title that I managed to cut on my silhouette and then foil.

‘The Iced Palace’ (and yes by the way I did actually make that cake!) shows that beautiful snowflake cut file. It was a square shape but I cut away a few of the snowflakes that would be covered by the papers and used them across the page. There’s also another sheet of 6×6 Minc paper and more chipboard shapes.

‘Let it Snow’ shows off another foiled cut-file – the title, as well as the snowflake frame printed on vellum and the turquoise block snowflake design also printed on vellum.

Oh, and then there’s the acetate! A few days later my heat-resistant acetate arrived and I could carry out my now highly specialist Minc-ing skills. I printed a snowflake design onto an A4 sheet and set about making the largest confetti pocket that you’ve ever seen – filled with sparkling sequins of course! The design printed really well onto the acetate and the foil took to it beautifully, I sewed it onto my background and sewed through some of the larger snowflakes (mainly so that my sequins didn’t all fall and collect at the bottom of the pocket), inserted the sequins and closed my pocket. I built the remainder of my layout over the join in the sewing and then poked brads through the large snowflakes. This is without doubt, my favourite layout and it was worth the wait!
Supplies used:
Shimelle True Stories patterned papers,
Dear Lizzy Fine & Dandy patterned papers,
Amy Tangerine Rise & Shine patterned papers
Thank you so much for staying with me and see you next month