Happy Day with Pebbles Inc
Hello everyone, and welcome to my blog post this month, we are on the final approach to the big day – so I hope you are all prepared for the day and not stressing too much. I’ve chosen the new collection by Pebbles – Happy Day.
Camera Fun – I took these photos with my selfie stick – yes I’ve got one – in Brussels at the end of November, when me and my family went over for the weekend to visit the Christmas markets. We had such fun trying to get one photo using the ‘stick’ where we were actually looking at the camera. I think I need more practice. but when I saw these photos I loved how they turned out. I used the Happy Day – 6×6 pad and various border punches and cutting the 6×6 sheets in half I was able to piece together and add to the layouts so that it looked like one long stripe. I used ‘Happy Day – Wood Fire Pizza’ paper has the background, I had painted the background with white gesso but ended up covering it all up – but I like the little touch of white gesso that is showing. I added a dies cut globe with the Shimelle Die Set and a few vellum pieces from Maggie Holmes – Open Book .

I also included a Hey Little Magpie Flair badge

For my next layout -A Weekend in Brugge – and Yes, they spell Brugge like that over there. I used Happy Day – Weekend Paper – but used the back of it. Again for this layout I used a few sheets from the Happy Day 6×6 pad and some stickers from the sticker sheet. This was a very quick layout has most of the title and words came from the sticker sheet and tag frames.
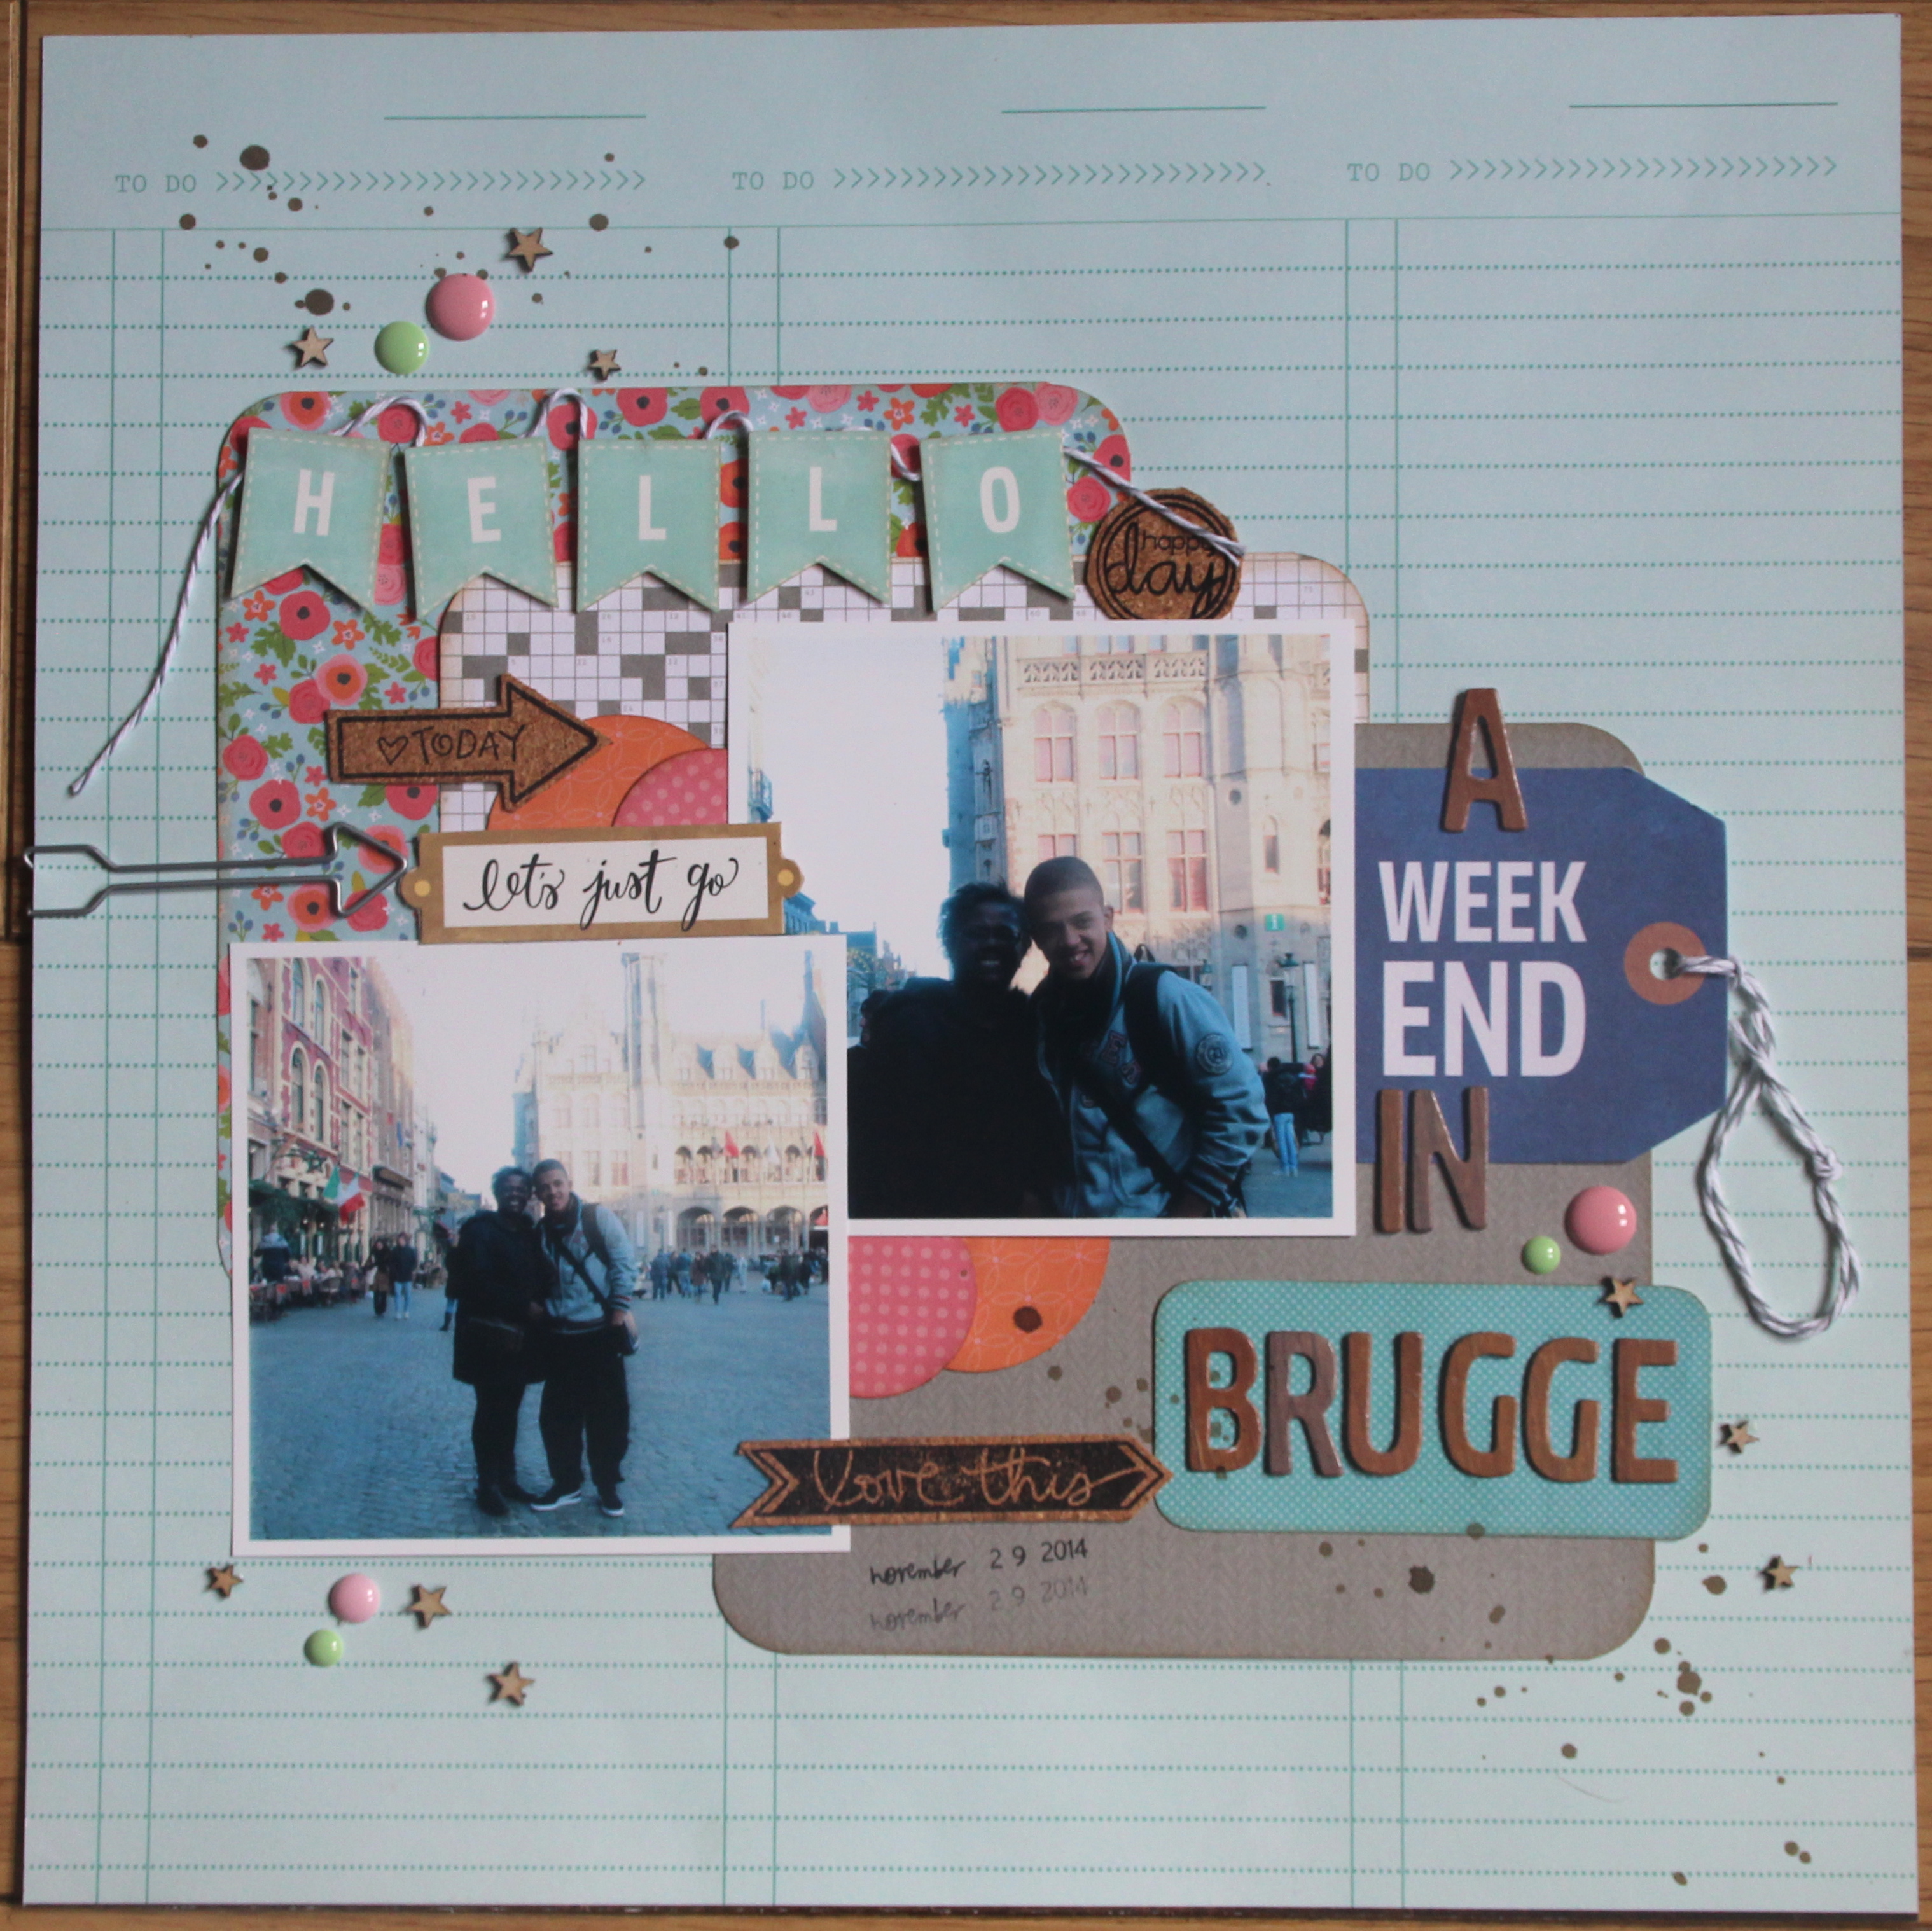
I added 3d pads to these stickers to give it some dimension from the page.

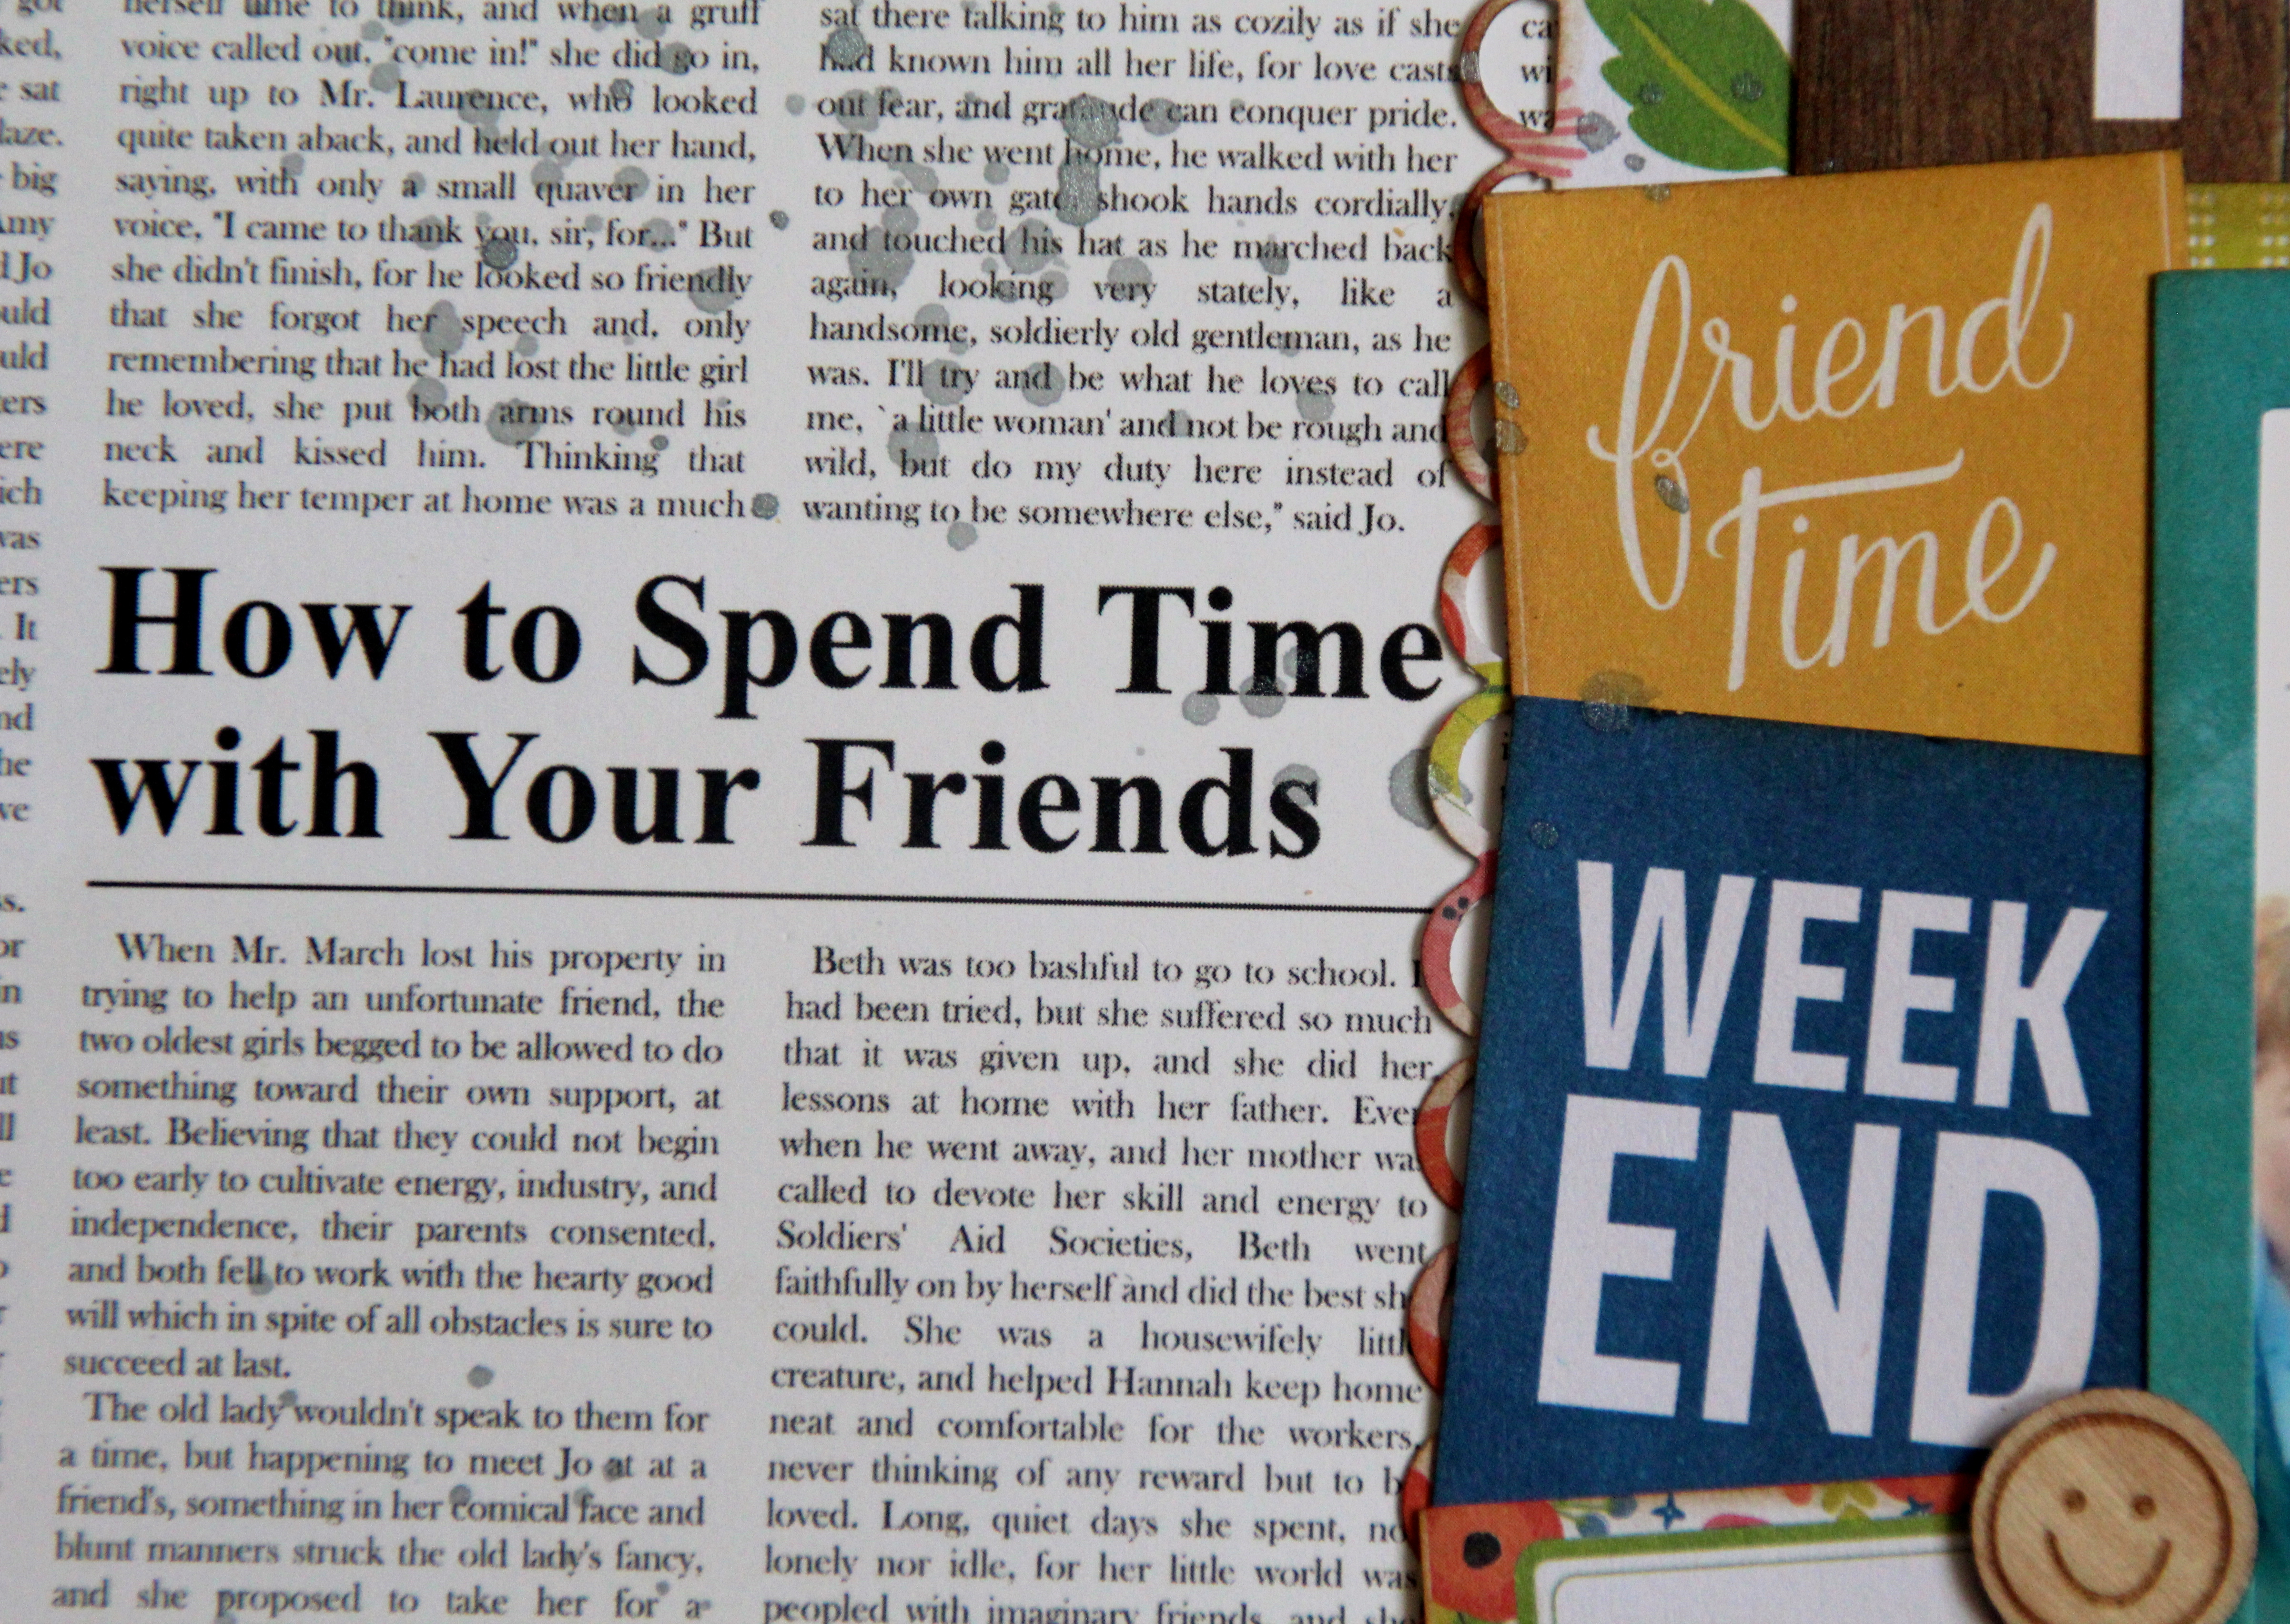
For this layout – Birthday Weekend – I used a selfie photo of my friends at the start of my Birthday Weekend celebrations – this time I managed to use the selfie stick correctly. The background paper – Happy Day – Sunday Paper was just crying out to be used for this photo. The girls has organised a fab weekend for us all and this was just at the start of it all.

I positioned the photo so that this heading was visible = Again using the Happy Day – 6 x6 pad as mats and I also cut the 6×6 sheet of the words – which work great with this layout has they are a smaller size, and just slotted in to the side of the photo.
Close up of the embellishments.

and I just love the woodgrain effect on the Happy Day – Woodland Wood Print Chipbroad Thickers that come with this collection.
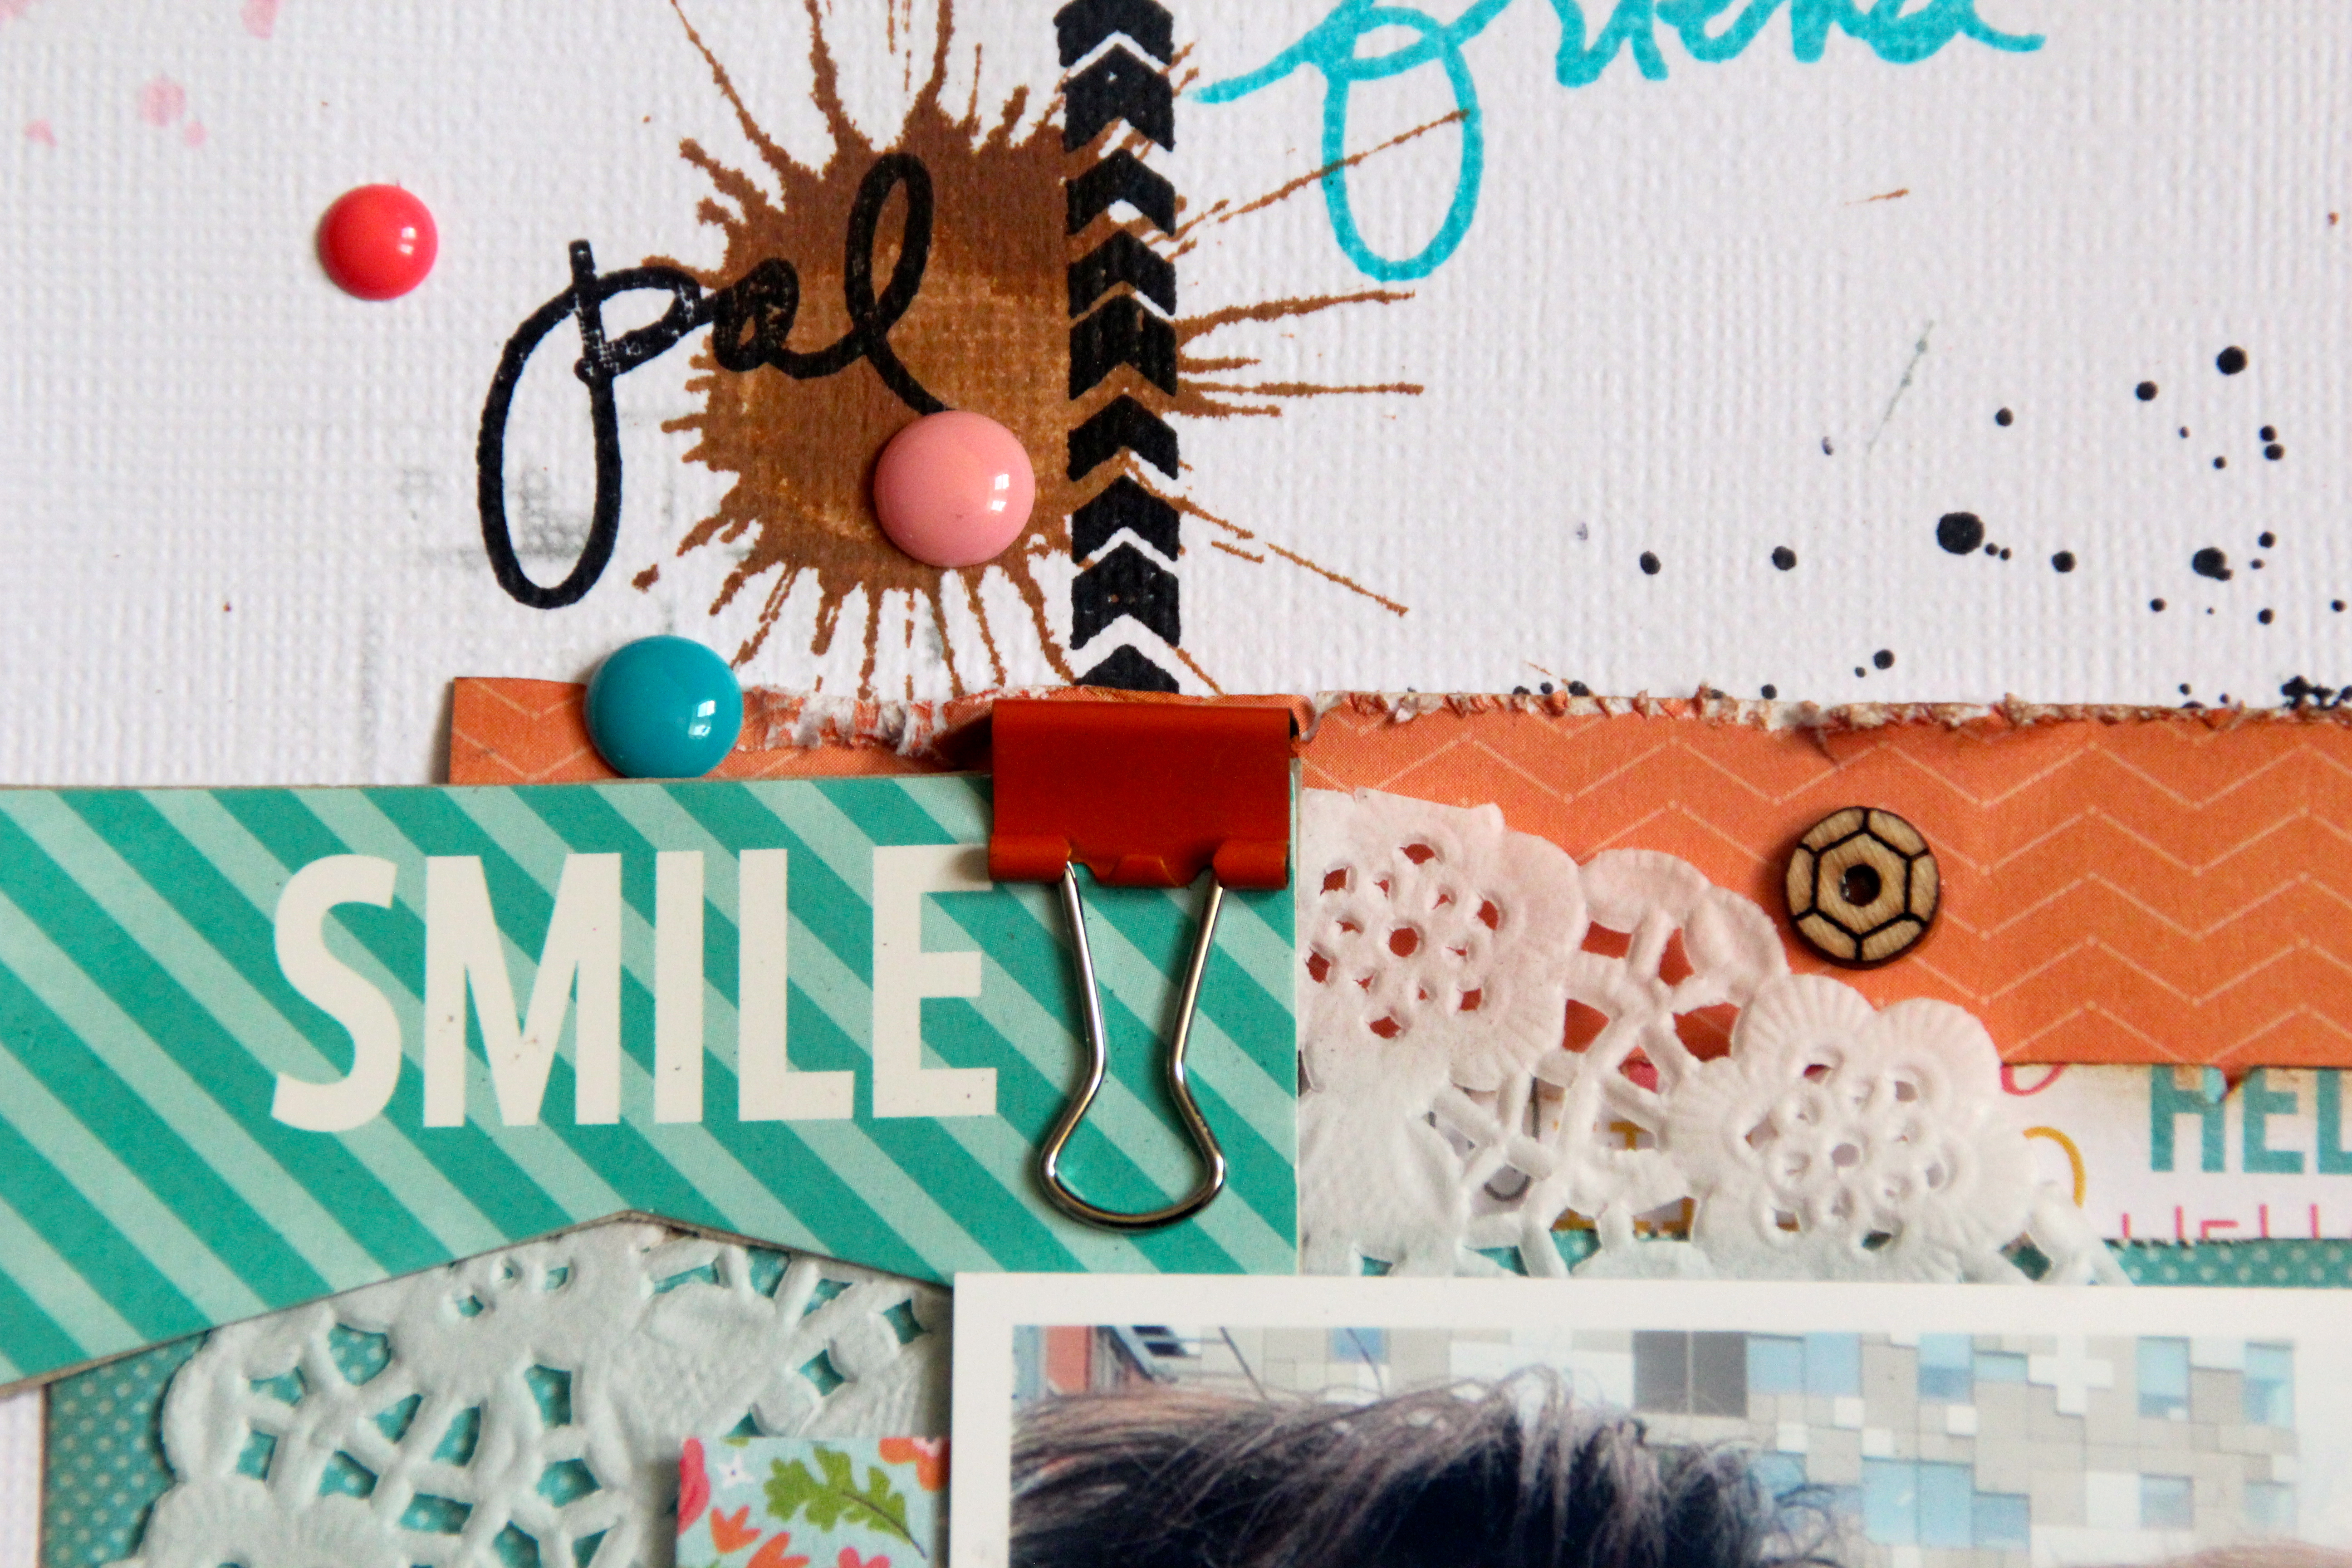
For my final layout this month, I went a bit grungy/distressed, The photo is of me and Julie, in Birmingham earlier this year.
I had started the background as a 12×12 sheet of cardstock, but then decided to cut it down to 11″x9″ approximately and mounted it onto b-side of Happy Day – Hello There paper. it was a case of just stamping and inking the background using various stamps sets from Technique Tuesday and ink splatters using Studio Calico Mr Huey’s Mists. I them layered the photo using the 6×6 pad papers and a printed frames from Happy Day – Tag Frames, adding a wood veneer word from Freckled Fawn – WoodChip Words, as well as a long title that I stretched down the right hand side of the page.

A close up of the ink splatter, stamping and embellishments.

Hope you enjoyed what I have made this month with this lovely collection and I would like to wish you all a Very Merry Christmas and a Happy New Year.
See you all in 2015 !!!
