Easing into the Festive Spirit

With Christmas Day just under two month’s away (eek! where has the time gone!?), it’s the ideal time to ease into the Festive Spirit by grabbing your staple Christmas crafting stamps, dies, punches, etc. and making a start on those handmade Christmas cards you have on your to-do list.
This time last year I was feeling quite relaxed about the whole Christmas cardmaking thing… I’d managed to make a Christmas card a week in 2014 and had already amassed a nice little stockpile. In fact I’d even enjoyed making my weekly Christmas card through the summer months, as it was a nice change from birthday cards and the like.
This year is a whole other ballgame!
I’d not even touched my mini Christmas stash department or even thought about starting on my Christmas cards until lovely new Christmas product started arriving into the store.
I’m sure there are many of you out there who are well ahead of the game, but if you’re like me this year, now’s a good time to ease into it all so there’s no stressing come December.
I always find the new festive releases help to boost the creative brain cells – and well, Christmas and winter-themed products are a real weakness of mine!
I’ve picked out a few items from different Christmas lines to get me started.
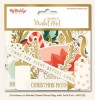
These included all the papers in the Joyful collection by Elle’s Studio, plus the die-cuts, some items from My Mind’s Eye’s Christmas on Market Street and Cozy Christmas collections, plus some other papers.
Also a timely addition to my Christmas crafting mood was the Heidi Swapp Marquee Love Christmas Joy kit. I received it just in time for crop night the other day and assembled and re-decorated it that evening ready to provide some cozy lighting on my craft desk when needed. There are some fab festive additions to the Marquee Love line. I used a 12×12 sheet of silver glitter paper to alter the interior of the Joy frame as it is just a tad too big for the 8.5 glitter sheets. It comes with a red glitter insert that you can use as a template to create your custom insert design. And cutting that out and fitting the lights is a nice little evening task you can do in front of the TV.


So anyway, on with the cards!

The product that I was most excited to use as soon as I opened my Hey Little Magpie order was the Joyful collection by Elle’s Studio!
Wow, wow, wow!
I loved their Christmas collection last year, but this year’s is even nicer. I just love that they stuck with a similar bright colour palette with grey and cream neutrals against vibrant reds, pink, green and aqua. Perfect for my taste and the patterns all come together so nicely.
So first up I used a technique that I love for adding a bit of dimension to cards. You can use any die that is symmetrical to get this look, I just happened to have a Christmas tree die that did the job.

You need to cut 3 of those symmetrical die-cuts from the same sheet of paper (the Celebrate pattern in this case) and score a line down the middle of each one.
Fold the die-cuts in half and glue one half of the back of the die-cut 1 to half of the back of die-cut 2 then glue the other back half of die-cut 2 to the matching back half of die-cut 3.
You can then glue your assembled 3D die-cut to a tag, inside a frame, or as a the main embellishment on your card.
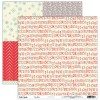
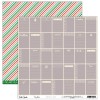
I cut a frame from the Making a List paper and used the snowflake pattern square from the B-side of the Countdown paper as a background. They go so well against that pink dotty A Merry Little Christmas B-side.

Finally I trimmed one of the die-cuts from the Bits & Pieces pack to use as a sentiment.
This next card features another technique I like for adding a bit of pop on Christmas cards:

If you score a line from each point to the opposite indent of a star die-cut and then fold along each line you can create this dimensional star.
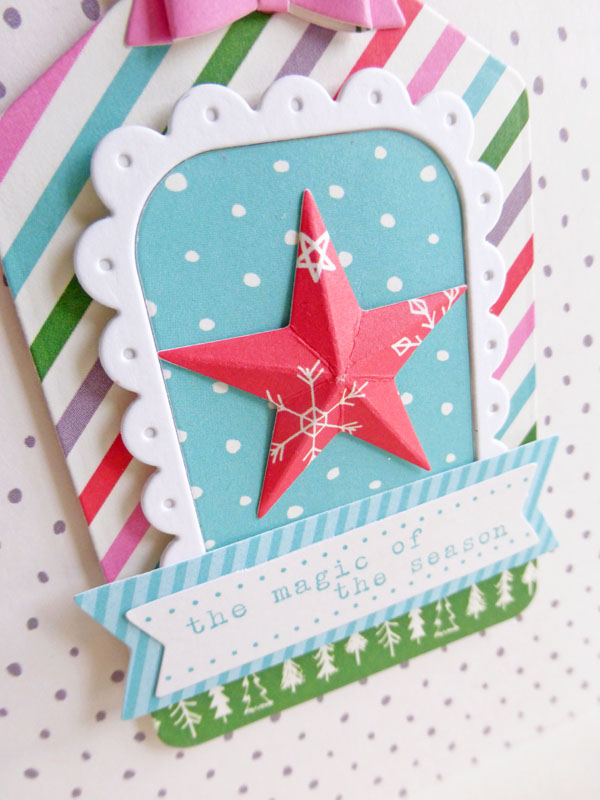 It’s great for little stars like this one or you can do it on much larger die-cuts for a real standout.
As you can see I was a real fan of that diagonal stripe paper! When I cut the tag from the paper I positioned the die so It would include the line of trees on the strip at the bottom of the paper.
I finished the card off with banner die-cuts from the Bits & Pieces pack and made a little bow from the pink stripes of the Christmas Tree paper. All those bright colours really pop against the neutral grey dotty background provided by another square from the Countdown paper.
Staying the with the stripes and grey tones I put this card together nice and quick:
 The star background is another square from the Countdown paper and I used an edge strip to create a border for the card as well as a little loop for the tag.
 This tag from the Bits & Pieces is a great sentiment and I finished it off with that heart die-cut also from the pack and another little die-cut bow I made from the Warm and Cozy paper.
And the perfect finishing touch was an enamel dot from the Christmas on Market Street collection by My Mind’s Eye. The enamel dots in that pack go really nicely with the aqua and red tones in the Joyful collection.
This next card uses a “wildcard” pick for my festive cardmaking plans.
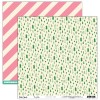
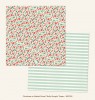
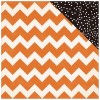
When I was looking through Crate Paper’s Halloween release After Dark, I saw this paper and thought the B-side would make a great snowy night sky.

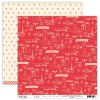
I paired it with the very festive red/white diagonal stripe paper (a real staple festive item!) from Simple Stories Claus & Co.
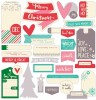
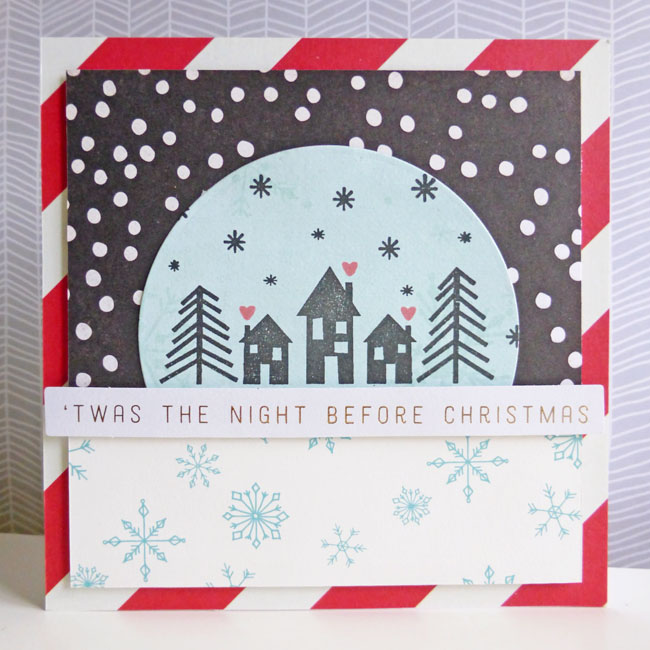 I thought a wintry night scene would be a great match for the sentiment strip from the Christmas on Market Street ephemera pack….
 …which just happens to be gold foiled. And it really stood out nicely against the Elle’s Studio snowflake pattern.
Next I mixed things up with these picks from My Mind’s Eye:
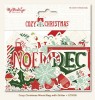
- Cozy Christmas – Mixed Bag die-cuts
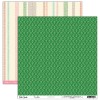
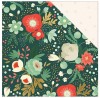
- Christmas on Market Street – Holly Boughs paper (B-side)
- Christmas on Market Street – Merry & Bright foiled paper
- Christmas on Market Street – Journaling cards
- Christmas on Market Street – Mixed Bag die-cuts
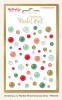
- Christmas on Market Street – Enamel dots
By just using some subtle backgrounds (whether from B-sides of paper or B-sides of journaling cards) and ready-to-go die-cuts you can create some very simple cards:
 This card just uses the B-side of the Holly Boughs paper and a couple of die-cuts from Cozy Christmas.
 The red frame already comes glittered.
Job done!
The light pastel neutrals used in the Christmas on Market Street collection go very nicely with light grey as a card base. I cut an 8.5 x 11 sheet of cardstock in half lengthways and folded each in half to create a portrait card blank and a landscape card blank.
Here’s the portrait one:
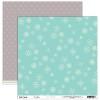
 The pink dot and mint stripe are both from B-sides of the Christmas on Market Street journaling cards.
 The candy canes from the Cozy Christmas ephemera pack had a different word in the middle, so I hid that behind another sentiment strip from the same pack.
The landscape card uses a left-over piece from the Holly Boughs paper:
 All the die-cuts on this card are from the Christmas on Market Street pack.
 Lots of gold foil, and of course, finished off with an enamel dot!
While I had the journaling cards out, I wanted to use some as the focal point since they worked nicely as sentiments:
 I just used the foiled Merry & Bright paper in the background, used a stitched journaling card die to cut the card a little smaller and added a die-cut banner from the ephemera pack behind it.
 And more enamel dots from this line to finish it off.
There are some die-cuts in the ephemera pack that are really big so work better on a 5×7 card base:
 I had some grey striped paper left over from last Christmas that provided a nice neutral backdrop for these die-cuts. The bottom half of the card background is a journaling card where I hid the text with that huge Merry Christmas banner.
 To add a bit of pop I covered the red berries on the die-cut with red enamel dots.
And finally, I used one of the large 4×6 journaling cards as a sentiment.
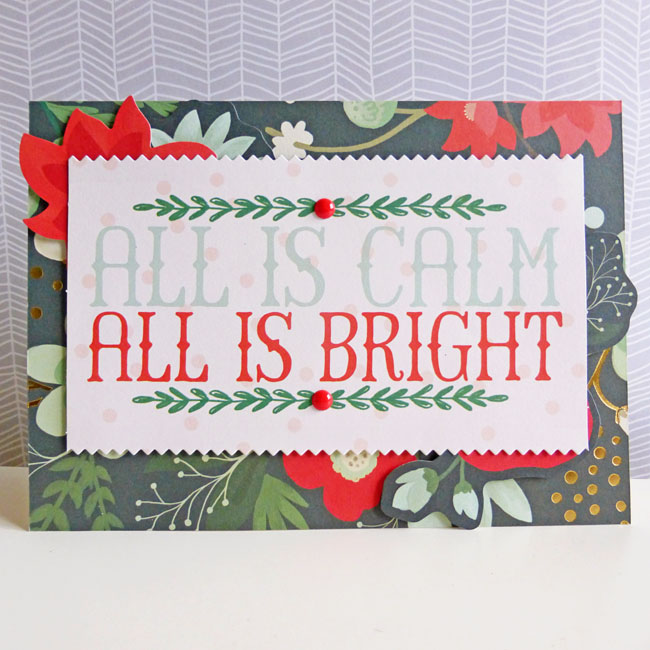 I trimmed it down using a pinking edge die and cut some of the floral die-cuts in half so I could layer them under the journaling card in different areas.
 They make the card stand out a bit more and the wording pops even more with those red enamel dots decorating the boughs.
Well, that’s 10 cards down for 2015.
Plenty more to go!
I’ll be back next month with more.
Happy crafting!
