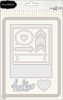
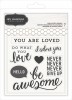
Jen Hadfield Cottage Living Dies & Stamps
 Morning folks!
It’s Nat here – back to share some new creations using some staple products in any cardmaker’s stash inventory: dies and stamps!
As you will have gathered from my past posts here on the Hey Little Magpie blog, there’s rarely a card that makes it off my desk without some form of die-cutting or stamping on it.
This month I wanted to share some projects that featured dies and stamps that complement one another and found a great versatile pick in the die and stamp sets in the Jen Hadfield Cottage Living collection from Pebbles.
Here’s a glimpse of what I made…
 First of all, I know these dies (especially the frame) were designed with scrapbooking or even home décor in mind – but they translate well to cardmaking too.
The star of the show is that fab polaroid-style frame!
The frame measures 4 x 5 inches – so ideal for larger 5 x 7 card formats and really plugs a gap in my collection of frame dies, as all the frames I had so far were better suited to regular A6 cards and got a bit lost on anything larger. This frame definitely has the wow factor on large cards!
Here are the products in the store that went into the making of these projects:


Now onto the projects in detail!
First up I thought a lot of the uplifting quotes and text in the stamp set would make a perfect little canvas project. I’ve been itching to try out a bit of watercolour fun as it is a really popular trend in cardmaking and stamping at the moment. But I have to confess I am definitely not adept with a paintbrush, so my first foray into watercolour techniques had to be a nice simple one that even I couldn’t mess up!

Making your own watercolour backgrounds is so easy and you don’t necessarily need to have watercolour paints to do it!
Although I created a 3D canvas here, you could use the inside the frame in the die set to cut a flat canvas that is exactly the same size as my finished canvas.
- I cut my canvas from watercolour paper and gave it a liberal coating of water.
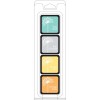
- I picked out 4 Distress Ink pads to create an ombre look (Ripe Persimmon, Dried Marigold, Spun Sugar and Worn Lipstick).
- I smooshed the pad onto a Tim Holtz-style craft mat (actually it’s a baking tray liner from the pound shop <g>), loaded my brush with water and mixed it with the ink.
- I applied the watered down ink liberally blending the colours on the canvas as I went.
- Once I was happy with the background I blitzed it with my hair dryer to quickly dry it.
Next it was time to personalize it with one of the quotes from the stamp set:

I picked out the “Do what you love” quote and stamped it with Versafine ink on the dry canvas background.
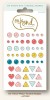
 Next up I wanted to add some hearts around the text and to the background, keeping that ombre look.
- I inked up the little heart stamp from the set with the Distress Ink colours I’d used on the background, but before stamping on the canvas, I stamped off onto a scrap of paper so that the impression on the canvas was more subtle.
- Then I took a smaller paintbrush and applied some water to the stamped hearts to blend the colours into the background more.
- I flicked some water droplets over the area and ta-da!
- All that remained was to fold and glue the canvas edges.
The possibilities are endless with watercolouring your own backgrounds, and you really can’t go wrong. The stamps in this set would make for a great series of mini canvases or framed mini paintings for the home or as gifts.
Sticking with the heart and blush pink tones I got to work on my first card:
 I’m still seriously in love with the Fancy That collection from My Mind’s Eye and how versatile it is – the blush tones are just so pretty against black and white striking backgrounds.
I picked out one of the Fancy That journaling cards and die-cut the larger heart die as an aperture.
 I used 3D foam tape to mount a piece of gold glitter paper behind it for a bit of sparkle and dimension.
The “I adore you” stamp is the perfect fit for the banner die from the set, and so was the perfect combo for this card, don’t you think?
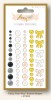
The enamel dots from the Fancy That line provide the perfect pop of pink!
Now for the large 5×7 card using that fabulous frame!
 Blush pink was here to stay for this card – as were diagonal stripes! I just love the size of this frame – it’s perfect for a bit of decoration with floral stamped die-cuts and ephemera as it doesn’t get swallowed up by those larger accents like smaller frames do.
I wanted to keep everything relatively clean and simple and stamped text directly onto the frame as well as the banner die from the set (which was cut from the subtle woodgrain pattern on the B-side of this Pink Paislee paper).
To make inking up easier I cut apart the “be awesome” stamp (don’t worry the two stamps join together perfectly again when mounted on a clear block and stamped!) – cutting them apart just makes it so much easier to colour the words with different inks, or to just use one word like here.

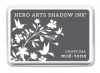
Combing grey and black ink on the same card creates a bit more depth and I have to say, Hero Arts Charcoal grey ink is a fantastic shade for sentiments – it’s not too light that you can’t really see it, but it’s not as dark or harsh as black sometimes can appear.
I finished off the card with some aqua and glittery gold enamel dots from the On Trend enamel shapes set to complement the dots in the background paper.
Next up, I fancied using the “hello” die to share a handy little technique for creating die-cut word borders from your regular dies, or in fact creating any partially die-cut borders:
Step 1 – using a pencil and ruler, mark a line on your paper/cardstock:
 Step 2 – line up the die where you want it on the line so that some of the die is below the line – hold it in place with a piece of washi tape.
Next is where the magic happens. Make sure your base plate and lower cutting plate are completely flush, then line up the pencil line with the edge of the plates – hold the card in place with another piece of washi tape.
Then place the top cutting plate on top so that it’s edge is also flush with the pencil line.
 Step 3 – here’s how it looks after you’ve run everything through your machine, you can see that the part of the die that was in the sandwich has cleanly cut through the cardstock, everything to the right of the pencil line (and outside of the sandwich) hasn’t cut out.
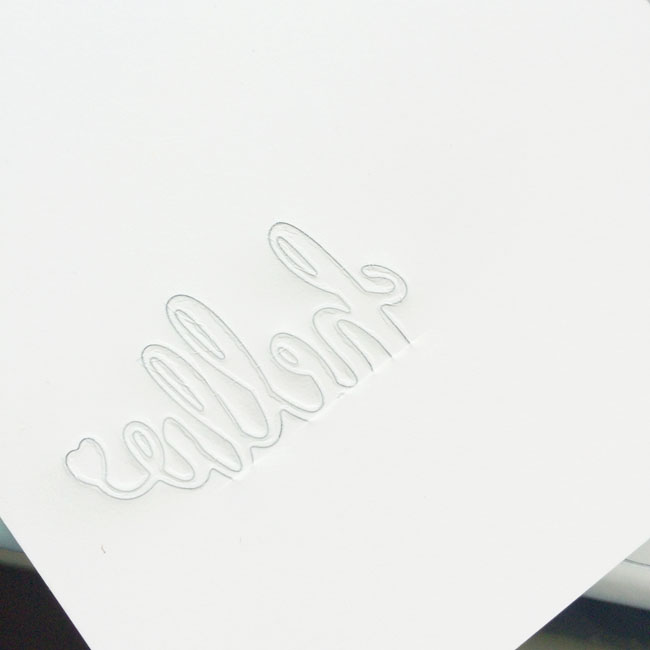 Step 4 – carefully remove the die so you’re left with this:
 Step 5 – cut along the pencil marks between the letters and then from either end of the word to the end of the card so you are left with this:
 Step 6 – erase the pencil marks and there’s your die-cut word border!
Here’s how I used it on a card:
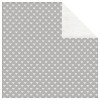
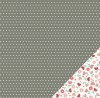
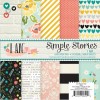
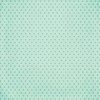
 I thought the lovely pastel tone-on-tone shades of the “basics” papers in the I Am collection by Simple Stories were a fab complement to the cream border – and of course blush pink and aqua go great with grey (like this Pebbles heart paper).
 I repeated my earlier look of gold glitter paper behind an aperture – this time using the smaller heart die. Really simple, but a nice way to bring all the elements together.
And finally, another take on a hello card – this time in the form of a mini notelet that uses the inside of the frame I cut earlier. I wanted to see how well the “hello” speech bubble stamp nested inside the speech bubble die:
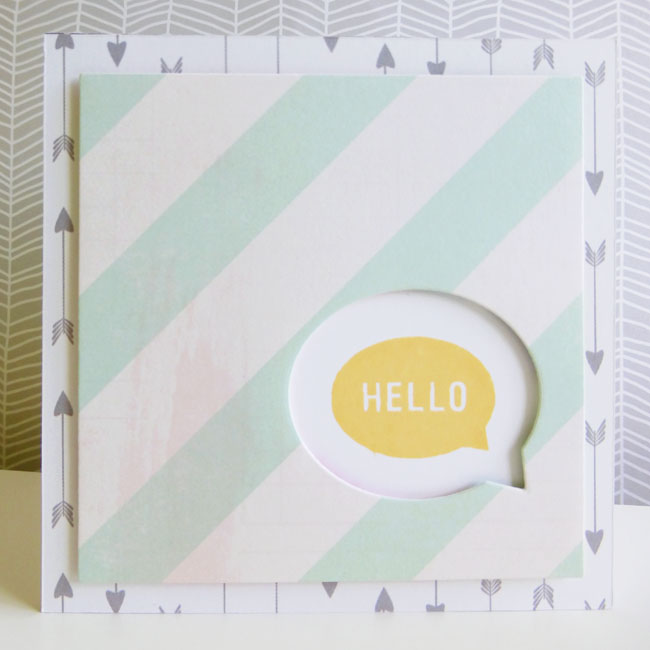
Really well it turns out! And a great way to frame the greeting by using the speech bubble as an aperture not just stamping directly on it.
 After all those grey and black stamped sentiments and quotes, I wanted to add a bit of colour to this greeting, so used the Butter Bar yellow Hero Arts ink here (I love yellow mixed in with aqua and grey) – Butter Bar is available as a cube in this set along with some other great colours.
Well that’s it for this month! I hope this post has given you a few ideas how to stretch those dies and stamps beyond the scrapbooking page.
Happy crafting!
